Friday, December 28, 2012

Fresh Basil Pesto

Fresh Basil Pesto
When we decided to start gardening in our small balcony,the first thing I wanted was a Basil pot.Now,whoever knows me know that I do not have a green thumb at all,but basil pot I wanted to have.Ajay,does not have a green thumb but a full green hand,no kidding.He can spend all his time sitting on the swing and enjoying the fruits of his labour.
Suma and Deeba were sweet enough to send me basil seeds which helped me finally have a pot of basil:)When I took out the leaves and looked at it,I had absolutely no doubts regarding what I was going to do with it.Yes,pesto it was.
Fresh Basil Pesto
I haven't tasted Pesto yet,so not sure if it is supposed to taste like how it did.First of all the ingredients for an 'authentic' pesto were hard to find.I mean,pine nuts and parmesan cheese,really?Ok,the cheese is available in gourmet supermarkets but I wasn't going to take all that trouble for something which I haven't tasted and something which I was unsure whether we'd like or not.

I am not a big fan of raw garlic,so maybe that is why I didn't like it smeared on a bread.But it tasted great in Pesto Rolls(recipe coming soon!).For now,here's my super simple recipe which gets done without any exotic ingredients and tastes great.
Fresh Basil Pesto

Fresh Basil Pesto

Ingredients

Fresh Basil - 3 cups,loosely packed 
Almonds - 1/3 cup
Garlic cloves - 3-4
Olive Oil - 1/3 cup
Salt and pepper to taste

Method

Fresh Basil Pesto-step1 
In a food processor/blender add the almonds and garlic cloves and process till you get a coarse mixture.
Fresh Basil Pesto-step2 
Add the basil leaves and start processing by pouring olive oil through the feed to aid even grinding.
Mix in enough salt and pepper to taste.

Notes
  • Pesto is a very forgiving recipe,you can add/substitute ingredients of your choice.Walnuts can be added in place of Almonds and throw in some cheese if you have and create different flavors each time.
  • Pesto tastes great in Pasta too,just toss some cooked pasta in pesto along with some cream.Simple yet delicious.
Wishing you all a very Happy New Year!

Monday, December 24, 2012

Christmas is incomplete without..

Christmas Fruit Cake
a Fruit Cake,of course.I've had an overload of Fruit cakes here last week and I was worried if you guys saw another title for Christmas Fruit Cake,you wouldn't read it after all!

Like they say,I saved the best for the last.Last 3 years,I've been baking this cake and every time I bake it,I think I shouldn't restrict baking this during Christmas,but some recipes are special and should be recreated only when the occasion demands.
Christmas Fruit Cake
I am reposting the recipe here along with the step by step procedures.Hope you enjoyed the Christmas specials and are planning a big spread for your Christmas meal.
                                           (image source)

Christmas Fruit and Nut Cake

Ingredients


Flour – 2 cups
Baking Powder – ½ tsp
Dry Fruits – 1 cup (figs, apricots, dates, raisins, currants and sultanas), chopped
Candied Peel – ¼ cup
Tutti Fruity – ¼ cup
Mixed Nuts – ½ cup(Walnuts, Cashews, Almonds), chopped
Dark Rum – 1 cup (optional - you could use 2 tbsp Lime Juice to soak the dry fruits)
Light Brown Sugar – 1 ¼ cup
Eggs - 4
Oil – ¾ cup[I used 175 gms butter]
Cloves - 3
Cinnamon Powder – 1 tsp


Christmas Fruit Cake-ingredients 
For the Caramel


Sugar – ½ cup
Boiling Hot Water – ¾ cup


Method
Christmas Fruit Cake Method 
Soak the dry fruits, candied peel and tutti fruiti along with the cinnamon powder and cloves in 2/3 cup rum for anywhere between 24 hours and 1 year. (I soaked them for 3 days.) Do remember to remove the cloves before using the fruits.

Christmas Fruit Cake Method 

When you are ready to bake the cake, start by making the caramel. In a heavy bottomed pan, place the ½ cup of sugar and heat slowly. The sugar will begin to melt. Stir this mixture with a spoon slowly as the caramel forms. When all the sugar crystals have melted, slowly add the boiling water and stir to form a smooth mixture. Cool this completely.

Christmas Fruit Cake Method 

Sift the flour along with the baking powder. 

Christmas Fruit Cake Method 
In a mixing bowl, add the oil/butter, eggs and brown sugar and beat well. 

Christmas Fruit Cake Method 
To this, add the flour mixture, the fruits and the nuts by turns. Whisk well and then add the cooled caramel.[I added the caramel along with the fruits and nuts]

Christmas Fruit Cake Method 

Grease and line two 8 inch baking tins(I halved the recipe and used a 6 cup bundt tin for this cake) and divide the batter between the two. 
Bake at 190 C/375 F for about 50 minutes.
Christmas Fruit Cake
When baked, make small slits in each cake and pour the remaining rum over them. While this cake is delicious straight out of the oven, try storing it for a week before consuming it. (To do this, wrap the cake in foil and then cover it with cling film.) This cake ages beautifully.

Thursday, December 20, 2012

Christmas Fruit Cake | Christmas Baking

Christmas Fruit Cake
Last week saw me cleaning up my pantry with a vengeance.Whatever leftover nuts and dried fruits got soaked into a bottle filled with rum and my fridge is stocked with slabs of butter and a huge number of eggs:)

Yes,I am one among those minority folks who start baking for Christmas very late.I keep postponing the chopping-fruits-soaking part to the last possible time.But once I start,then there's no stopping.I have kept aside batches of soaked fruits delegating them for Xmas,New Year,for keeping,for giving away and so on.Light Fruit Cake was a great start and I am taking it forward with this delicious Fruit Cake from Saee's Myjhola.
Christmas Fruit Cake
Nothing beats the thrill of cutting a slice of homemade cake and even better if you are sharing it with someone.Fruit Cakes get a lot of bad press due to their characteristic chock-a-block fruits in every bite and a strong smell of alcohol.Maybe because I love dry fruits or maybe because I grew up eating Plum Cakes,as they are called in Kerala,I love a good Fruit Cake!

Saee's recipe is a very simple one.It is just like a regular butter cake with fruits and nuts soaked in rum incorporated into the batter and voila,it immediately gets transformed into a rich fruit cake,so very Christmas-ssy!
Christmas Fruit Cake

Christmas Fruit Cake
Recipe slightly adapted from Saee's My Jhola

Ingredients

For soaking

Dry Fruits - 1 cup,chopped(I used raisins,currants,figs,dates)
Nuts - 1/2 cup(I used cashews,almonds and walnuts)
Candied peel/Tutti Fruity - 1/4 cup
Cinnamon powder - a pinch
Dark Rum - 3/4 cup

For the cake

Flour - 100 gms
Baking powder - 1/2 tsp
Cinnamon powder - a pinch
Dry ginger powder - a pinch
Homemade garam masala - a pinch
Salt - a pinch
Butter - 100 gms
Light brown sugar - 100 gms
Eggs - 2
Vanilla extract - 1 tsp

Method

For soaking 
Christmas Fruit Cake-step1 
In a clean dry bowl,mix together the dry fruits,nuts,tutty fruity,cinnamon powder and dark rum using a wooden spoon.Store in an airtight container and refrigerate for 2-3 days.You can even do this days in advance,the more it soaks,the more flavor it brings to the cake.

For the cake  

Christmas Fruit Cake-step2 
Sift/stir together flour,baking powder,cinnamon powder,dry ginger powder,garam masala and salt.Reserve.
Christmas Fruit Cake-step3 
Beat together butter and sugar till fluffy.Mix in the eggs beating well after each addition.
Mix in the vanilla extract.
Christmas Fruit Cake-step4  
Pour the soaked fruits along with any juice into the creamed butter-sugar mix and stir well.
Mix in the sifted flour mix and beat together till you get a thickish batter.
Christmas Fruit Cake-step5 
Pour into a greased/lined 8' round tin and bake at a 180C preheated oven for 45 minutes to an hour.
Remove the cake from the tin and let it cool completely on a wire rack.Cover with a foil and rest the cake for a day or two before slicing.
Dust with icing sugar and serve.

Christmas Fruit Cake 
Notes
  • You can mix and match any fruits and nuts of your choice.I have soaked a batch with only glaze cherries and tutti fruity,it is all about what you like to have in your fruit cake.
  • I added less rum than mentioned and for the same reason,did not drain the soaked fruits before adding to the cake batter.
Are you done with your Christmas preparations yet?

Sunday, December 16, 2012

Light Fruit Cake | Christmas Baking

Have you soaked fruits for THE Christmas cake already,seems the much asked question on facebook these days.Many have soaked the fruits for months together,some have baked the cake and are soaking it with rum and some like me are sitting and wondering when to actually start the process altogether.
Light Fruit Cake
I've been making rum-soaked Fruit cakes since last 4-5 years.Initially I felt it was too much work and didn't want to take the trouble,since good quality,yummy Fruit Cakes were available in bakeries.If not,I'd ask someone to send one for me from Kerala where every bakery stocked the best of Fruit cakes.

Blogging changed that for me I should say.Come December and I'd be hunting for recipes and chopping up fruits and nuts and sending Ajay to the nearby Tasmac shop for Old Monk Rum:).Life of a food blogger,and her husband;)
Fruits soaked in rum
I have bookmarked two recipes this year and would be trying it and posting on the blog.My recipe since last 2 years has been the same,Christmas Fruit Cake.It comes very close in taste to the fruit cake I've been eating since my childhood days.

First one is from the very reliable baking site - Joy of Baking.It is not a traditional fruit cake per se,but a light fruit cake which can be made in a jiffy and does not require months of soaking.Though it does benefit from a day of soaking and a day of resting,that should not deter you from trying out this super simple recipe.
Light Fruit Cake

Light Fruit Cake
Recipe source - Joy of Baking

Ingredients

For soaking

Raisins/Sultanas/Black Currants - 3/4 cup(120 gms)
Cashew nuts/Walnuts/Almonds - 1/2 cup(100 gms)
Tutti fruity/Mixed candied peel - 1/3 cup(40gms)
Rum/Brandy - 1/4 cup

For the cake

Butter - 1/2 cup/100gms
Light brown sugar - 3/4 cup/150gms
Eggs - 3
Vanilla extract - 1/2 tsp
All purpose flour - 1 1/2 cups/195 gms
Almond meal/flour - 1/2 cup/50 gms
Baking powder - 1 tsp
Salt - 1/4 tsp
Lemon/Orange zest - 1 tsp
Milk - 1/4 cup/60ml

Method

Soaking the fruits and nuts
Light Fruit Cake-step1
In a bowl,combine raisins/sultanas,nuts and tutti fruity along with the rum and mix well using a wooden spoon.Cover with a lid and let it sit at room temperature from anywhere between 24 hours up to 2 days.Stir occasionally.

For the cake 

Light Fruit Cake-step2 
Sift together flour,almond meal,baking powder,salt and cinnamon powder together.Keep aside.
Light Fruit Cake-step3 
Mix together sugar and lemon/orange zest till the sugar becomes moist and fragrant. 
Light Fruit Cake-step4 
In a mixing bowl,beat together butter and sugar till fluffy.
Add eggs,one at a time beating well after each addition.
Stir in the vanilla extract.
Light Fruit Cake-step5 
Scrape down the sides of the bowl and add in the soaked fruits and nuts along with any juices and beat until incorporated.
Beat in half the flour mixture till mixed and then add the milk and then the remaining flour mixture.
Light Fruit Cake-step6 
Pour into a greased/lined loaf tin and bake at a 180C preheated oven for 60-70 minutes.(It took 60 minutes at 180C and another 15 minutes at 160C in my oven,reduced the temperature so that the top doesn't brown much).
Cool the cake in the tin for 10 minutes and then remove the cake from the tin and cool on a wire rack to cool completely.
Cover lightly with a foil and let it rest for a day before you slice and serve.
The cake keeps well for a week in room temperature.


Light Fruit Cake

Notes
  • The original recipe calls for candied cherries and peels which I replaced with raisins and tutti fruity.You can use any dry fruits and nuts of your choice.
  • Sugar mentioned in the recipe is perfect for a sweet yet balanced taste along with the fruits.If you are using glazed cherries,decrease the sugar content.
  • It took a longer time to bake in my oven(mentioned in the recipe),so bake for 60 minutes,check for doneness and then bake further.If you feel the top has browned enough,cover the top with a foil or wax paper and bake.
  • If you prefer,as soon as the cake comes out from the oven,pierce the top of the cake with a toothpick and pour 2-3 tbsp of rum over it.Let it rest for a day and then cut the cake for the flavours to mature.
  • For making Almond meal/flour,just pulse some almonds(with or without skin)in a mixer/blender till you get a coarse powder.Do not blend for long or else you will end up with pasty almond meal.

Tuesday, December 11, 2012

Baking 101 - Meet my Oven - Part 1

For someone who learnt baking on her own,writing this post does sound a bit over the top,really.I am a late learner when it comes to baking,started baking just 3-4 years back.I do have to my credit(NOT!) inedible flat discs which came out of the oven when I put in delicious cake batter,or rock hard balls of bread which went in soft and fluffy and many more of that I wouldn't wish to divulge.

However,thanks to food blogs,youtube videos and dedicated baking sites,I can say I bake very well than that now.
Another hurdle I had to cross was the oven.I have a small counter top Microwave Convection oven which according to me takes a bit of your time and understanding to get accustomed to.I've been getting many mails regarding the kind of oven I use and timings I follow for baking in it that I thought this post shouldn't be delayed any further.

Here are a few FAQ's I come across 
  • Can I bake in my Microwave oven?
There are three types of Microwave ovens

a)Solo Microwave
b)Grill Microwave
c)Convection Microwave OR Grill/Convection Combi Microwave

If you use your oven extensively for re-heating food,like to do a bit of grilling and a good amount of baking,I'd highly recommend you go for a Grill/Convection Microwave oven.

Solo Microwave oven,as the name suggests can only be used for reheating food.You can however try out baking 5 minute Microwave cake or Instant Brownie or Dates Cake in it.Perfect for those sudden cravings but for 'real' baking' you have to go for a convection microwave.Same applies for Grill Microwave.

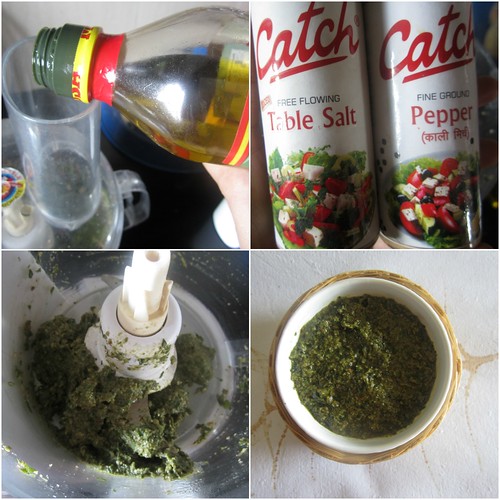
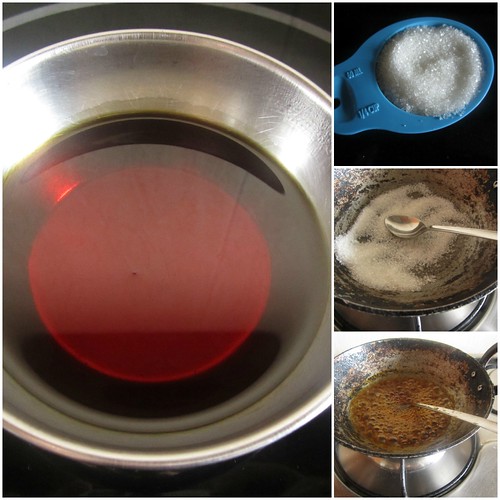
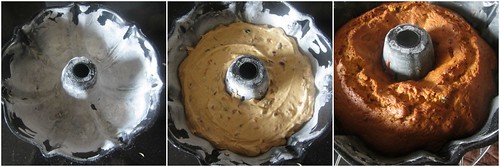
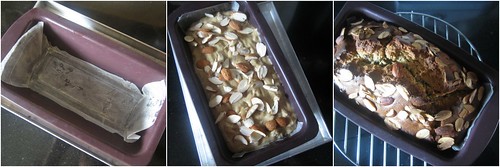
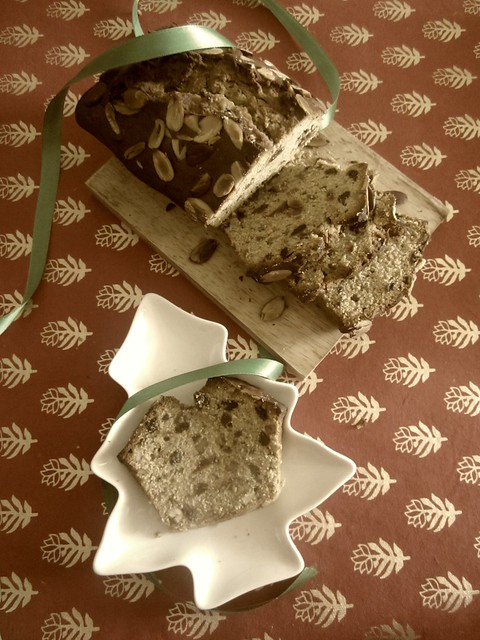
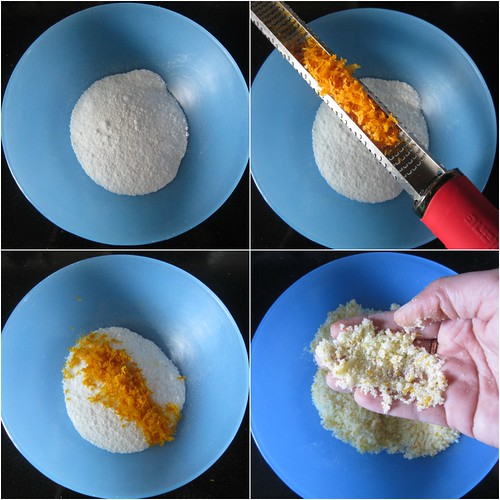
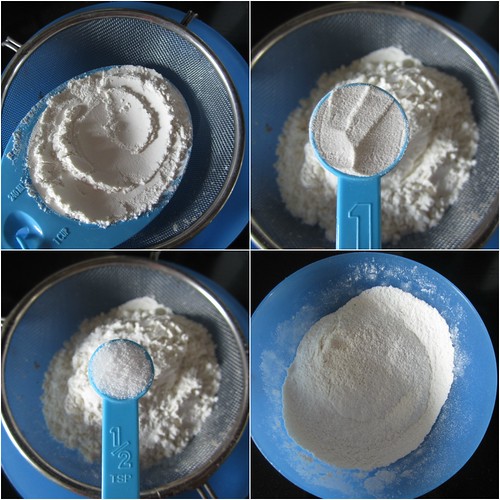
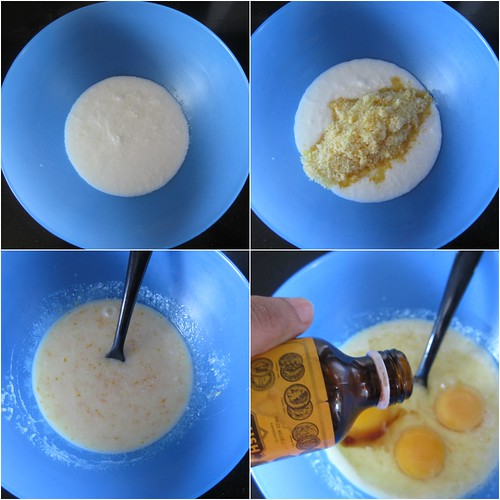
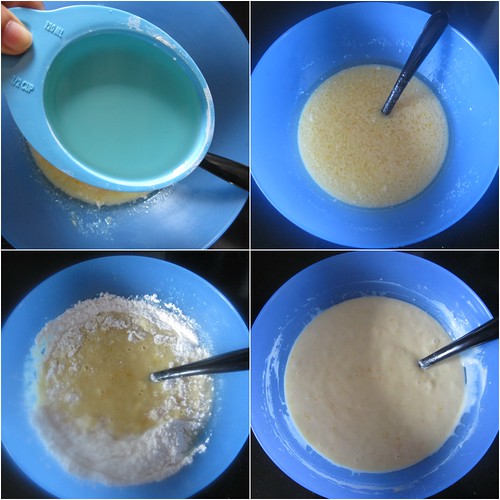
Top three Microwave baking recipes
Convection Microwave,however is just like a regular oven with microwave features.You can use the features of Microwave as well as bake in it like any other regular oven.
  • Can I use metal tins in my Microwave?
If you have the aforementioned Convection Microwave,yes you sure can.When the convection mode is switched on,there are no microwave rays hence you can safely use your regular cake tins and glassware with great results.

But if you are cooking in a combi-mode like Microwave-Grill or Microwave-Convection,use only Microwave safe dishes like Pyrex,Borosil etc.
  • How to set the temperature/pre-heat my Microwave?
Another most often asked query is how to preheat the microwave.The manual which comes with the microwave clearly specifies not to run the microwave empty,so I am guessing that is what confuses everyone.When you are using the microwave features - like re-heating,cooking vegetables or anything else,yes running an empty microwave can cause harm.

But when you are pre-heating the microwave,you are activating the convection mode and it is totally safe to operate the microwave empty.

For preheating the oven - first set the temperature in which you want to preheat,for eg 180C.The oven will start heating up and when the required temperature is reached,will start beeping.This is when you open and put in your cake,cookies etc and then close it.Again set the temperature,180C for eg and set the time 30.00(for eg) and press start,that's it.
  • Will the baked good look and taste similar to those baked in an electric oven?
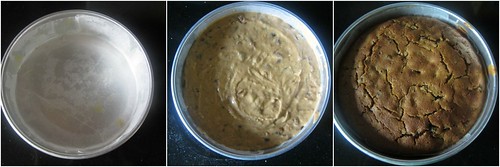
I haven't yet compared a cake,cookie baked in a microwave and an electric oven.So cannot do justice to the question.However,I find that when you bake in the microwave,the cake,cookie gets baked evenly since it is placed on the rotating pan and it also saves the trouble of rotating the pan midway during the baking.
  • Should I place the pan on the wire-rack provided in the starter kit?
Many ovens(like mine) come with a heating coil on top.If you place the cake pan on a wire-rack,it will be too close to the heating coil which may cause your cake to brown fast and not cook in the middle.You can safely place your cake pan on the rotating plate and bake.If you feel the cake is not browned enough,during the last five minutes of baking,you can place the cake on the wire-rack and continue with the baking(something similar to the broil mode in regular ovens).

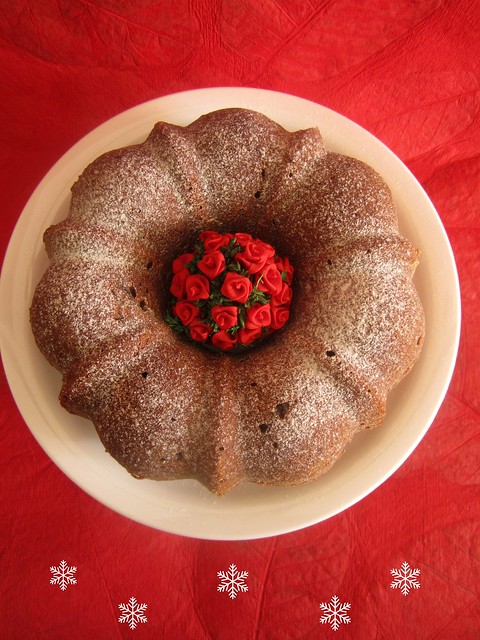
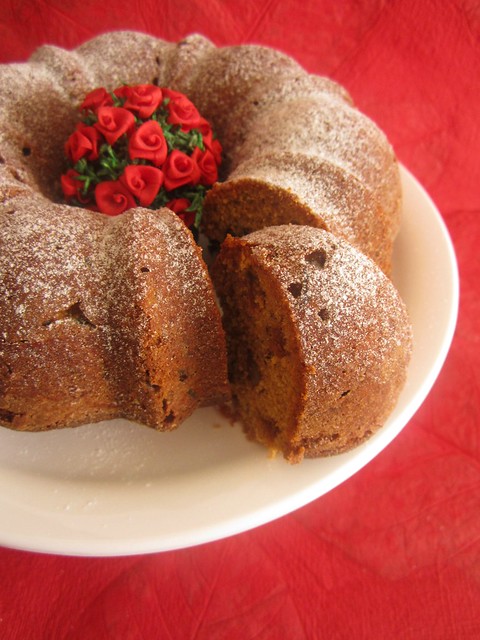
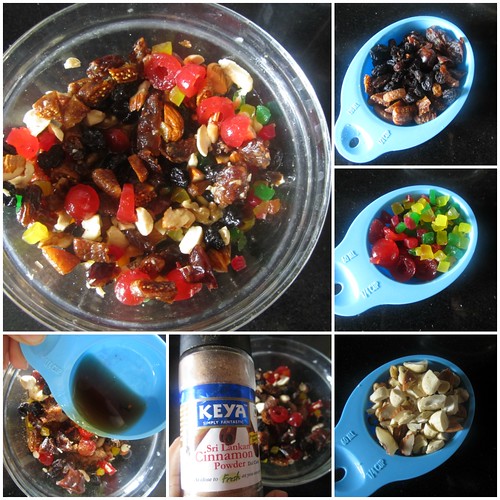
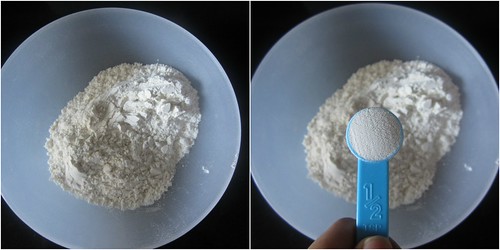
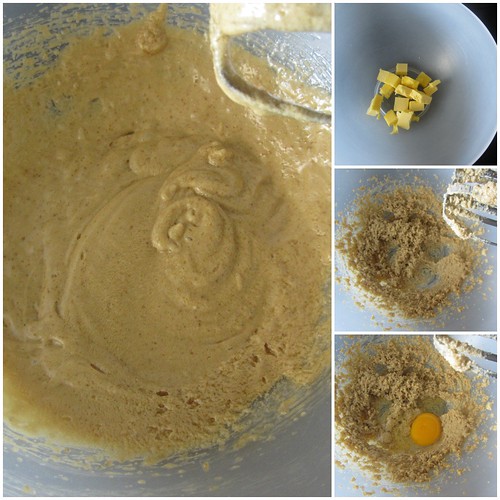
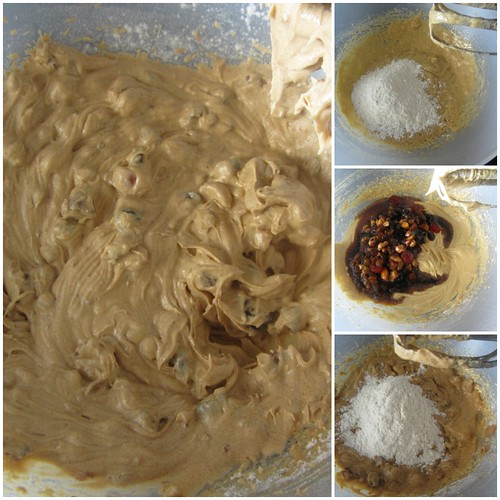
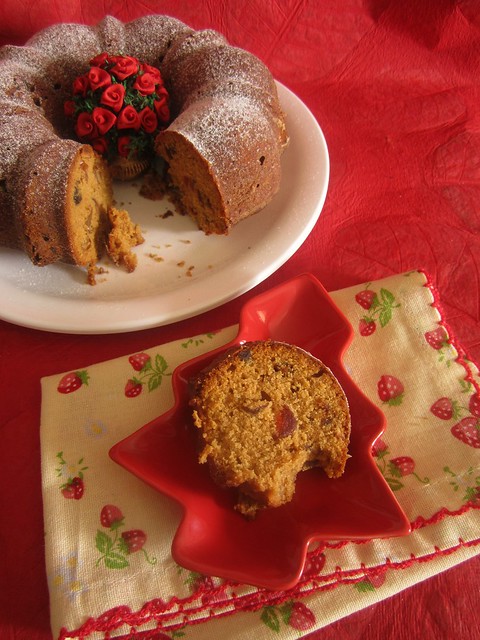
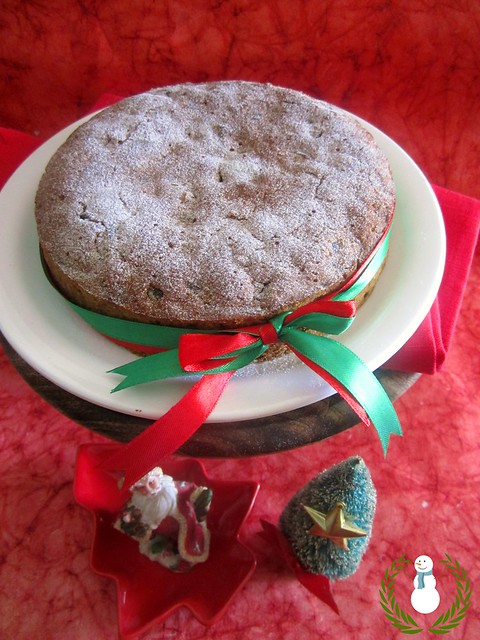
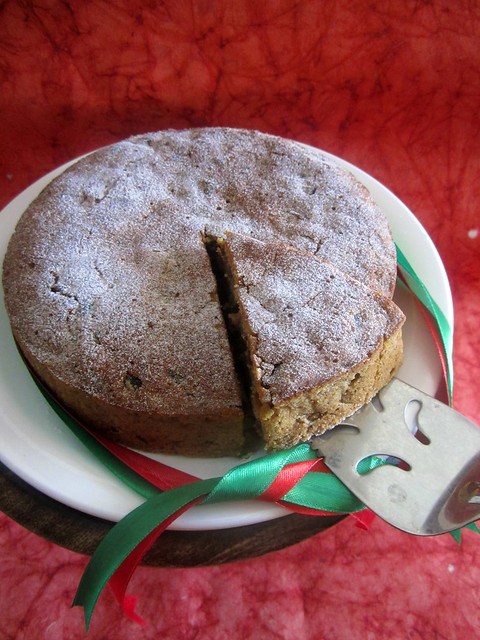
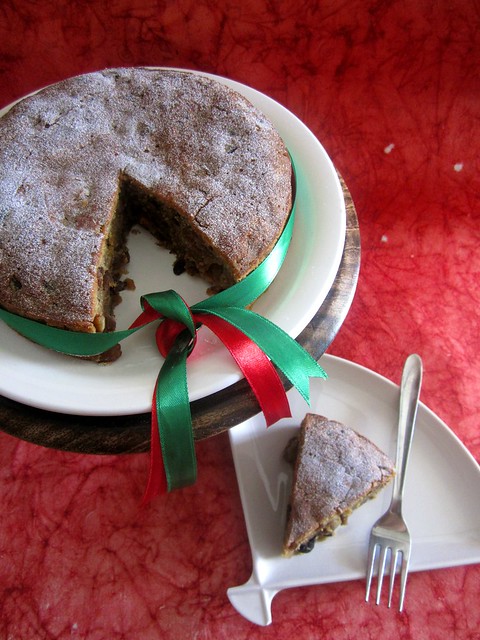
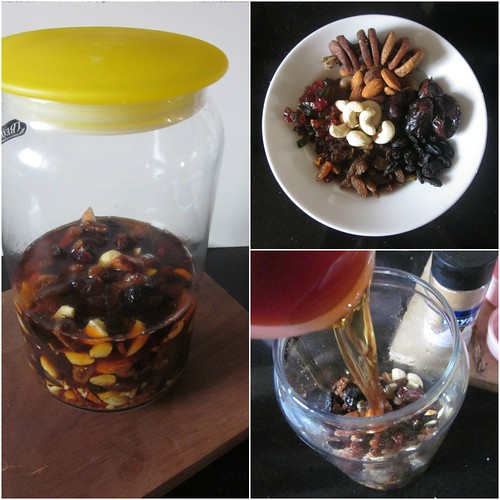
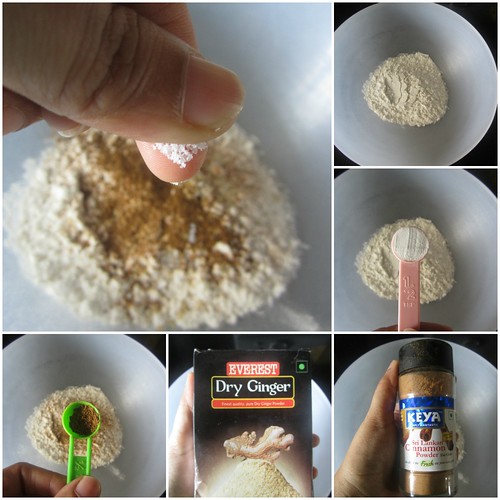
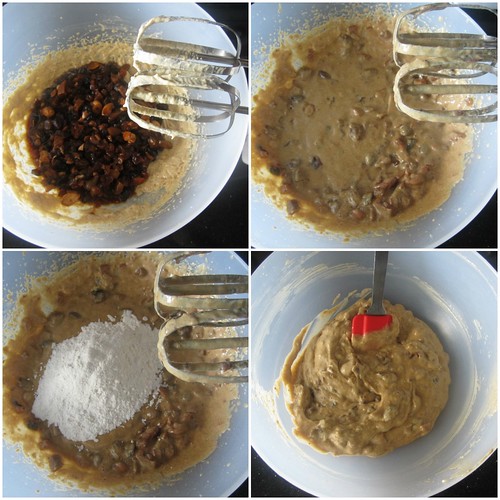
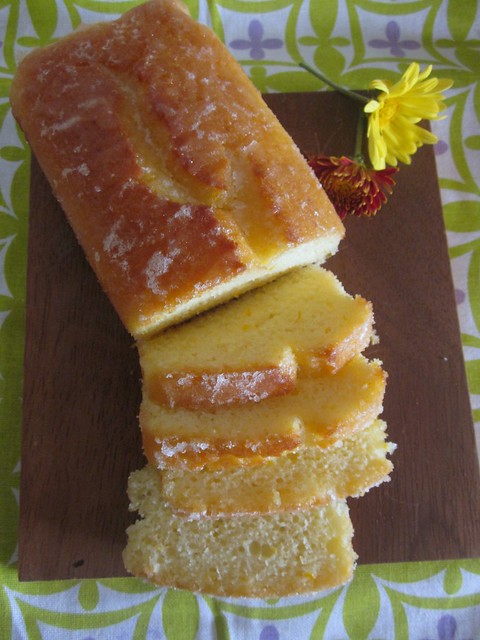
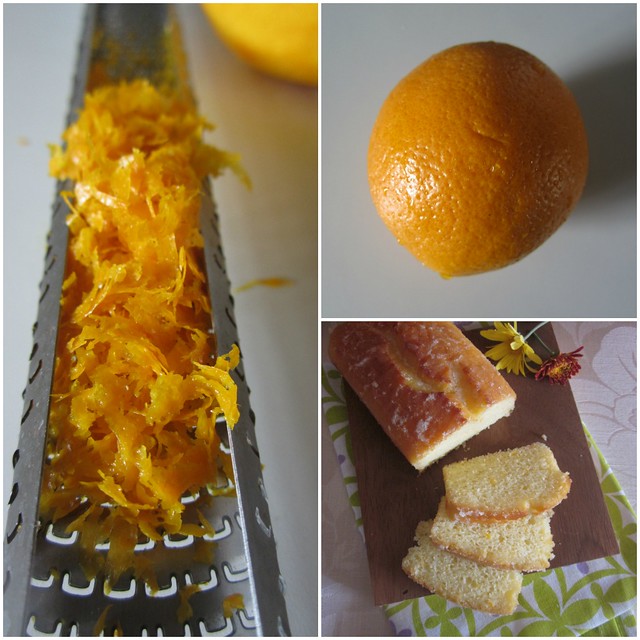
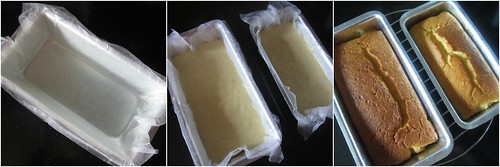
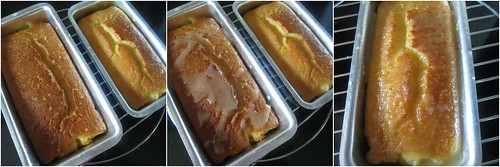
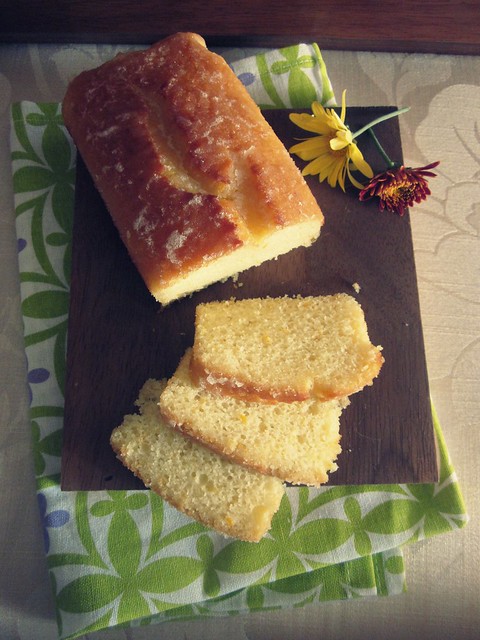
Here are my top five baking recipes in this blog-all baked in my Microwave Convection Oven.
I don't know if it sounds contradictory,but I did invest in a Regular oven lately,a Morphy Richards 28 ltr.Will be doing a post on that too shortly.Stay tuned!

If you have any more specific queries,please post them in the comment section and I will update the post with the answers.

Also don't forget to check out my guest posts at 

Sunday, December 9, 2012

Crimson Chakra,Chennai | Restaurant Review

I am not very particular when it comes to dining out.Only thing I do however ask for is a good vegetarian selection in the menu for myself since I am the lone vegetarian in our friends gang.I was given the option to choose which restaurant to go,for my birthday dinner and I chose Crimson Chakra.

Having heard a lot,a LOT about Crimson Chakra from folks in CFG made the decision easier.To make sure Ajay and our friends were happy too,I did a check on the popular dishes there and suggested they order those.To say they were highly impressed would be putting it lightly.
Crimson Chakra,Chennai We I ordered Paneer Tikka as the starter while the non veg starters were Cheese Chicken Tikka and a Spiced Chicken soup with lemongrass.Must say the first impression was good.Since the restaurant has a very homely feel,we relished the food taking our sweet time to finish the food before ordering the next course.

The person who took our order was a very friendly one who suggested we go for half portions,probably seeing the licked clean plates and our happy stomach rubbing gestures.Yes,they serve half portions too,what a lovely idea!
Crimson Chakra,Chennai
I went for the much talked about Smoked Rice.Though it looks just like a Veg Biryani,one spoon and you'll instantly know it is better,way better than a Biryani.With a sharp smokey flavor and just rightly spiced,this one comes with a raita but you can have it without any accompaniments.Tasted delicious!
Crimson Chakra,Chennai Now comes the star of the day night.The famous Yelaneer Souffle.I really don't know if words are enough to sing praises about this.When it came to the table,Ajay passed it off as it looked too plain and almost like a bowl of curd.I haven't tasted anything like it before,that I can tell.Tastes like sweetened tender coconut and cream and luscious,oh man,the birthday dinner was so worth it!
Crimson Chakra,Chennai

Crimson Chakra is at # 13, First Crescent Road, Gandhi Nagar, Adyar, Chennai – 600 020.

A meal for four with soup,starter,main course and dessert(vegetarian&non vegetarian)cost us a little less than INR 2000/-


Food - 8/10
Ambience - 8/10
Service - 9/10
Value for money - 8/10

Disclaimer-This is not a paid review.I liked the restaurant and thought of sharing my experience with my readers.

Friday, December 7, 2012

Orange Yogurt Loaf Cake | Easy Baking Recipes

Orange Yogurt Loaf Cake

It is the season for merry making and there is festive spirit all around.What more reason do you need to bake,right?But I resorted to baking this cake for a completely different reason.Fretting and fuming at the weighing scale at the gym,I came back home in a very bad mood.Went to the kitchen to grab something to eat and I saw my notepad where I had scribbled the recipe for this cake and the lone Orange sitting in the fruit basket.

Baking a cake from scratch has been a stress buster for me many a times.Grabbing my mixing bowls and spoons I set about making the batter unaware of the disaster which was to follow.

Orange Yogurt Loaf Cake Orange zest has to be one of the most amazing fragrant ingredient ever when it comes to baking.I always seem to have a soft spot with Orange,whether it be paired with chocolate or as the main flavor,Orange never ceases to lift something to a higher level.I felt as though I was floating in Orange cream biscuit heaven while I was zesting and later mixing the zest with sugar,no kidding!

The cake is a breeze to make but I found it to be a tad less sweet.Yes,with the soaking syrup added it tends to get a little sweet,but I feel 1 cup in place of 3/4 cup sugar would have been ideal.

Orange Yogurt Cake with Orange Glaze
Recipe source - Sprinkle Bakes

Ingredients

Flour - 1 1/2 cups
Baking powder - 2 tsp
Salt - 1/2 tsp
Sugar - 3/4 cup
Zest of 1 large Orange
Yogurt - 1 cup(plain,unsweetened yogurt)
Eggs - 3
Vanilla extract - 1 tsp
Oil - 1/2 cup

For the glaze 

Freshly squeezed Orange Juice - 1/4 cup
Powdered sugar - 1 cup

Method

Preheat oven to 175C.Grease and line a loaf pan.(my loaf pan is smaller in size,so I had enough batter for one medium and one small loaf pan)
Orange Yogurt Loaf Cake 
Prepare the sugar - rub orange zest into the sugar with your fingertips till it becomes moist and fragrant.
Orange Yogurt Loaf Cake 
Sift together flour,baking powder and salt.
Orange Yogurt Loaf Cake 
In a mixing bowl,add yogurt and whisk in the sugar.Mix in eggs,vanilla and oil.
Orange Yogurt Loaf Cake 
Fold in the flour mix till you get a smooth batter.
Orange Yogurt Loaf Cake 
Pour into the prepared tins and bake for 50 minutes or till done.(the smaller loaf tin took 40 minutes and the medium one took 50 minutes).

Orange Yogurt Loaf Cake 
Making the glaze-Mix together powdered sugar and orange juice till you get a thick glaze.
Orange Yogurt Loaf Cake 
Remove from the tin and peel off the baking paper and place the cakes back into the tin.Pour the glaze over the warm cake and let it cool in the tin.

Orange Yogurt Loaf Cake
Only unfortunate incident with the cake was,while mixing the wet ingredients and taking a snap of it,my camera fell into the mixing bowl.Just for a fraction of a second and then I snatched it above,but the damage was done.I was in a denial mode from then on and wiped the lens and the camera with a tissue,let it dry under the fan and went about clicking pictures with my spare camera.Only later it sank in that the camera could be severely damaged.As of now,it is getting serviced while I sit with my fingers crossed.
Related Posts Plugin for WordPress, Blogger...
 
Pin It button on image hover