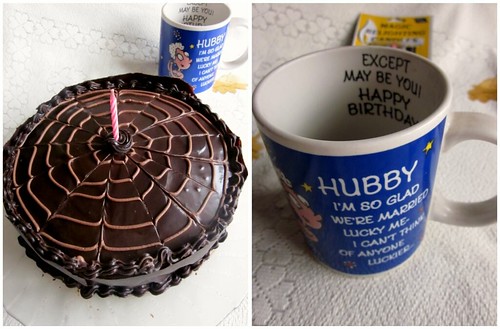
As I mentioned in my last post,this one is going to be a special.Easycooking turned One,Two and now Three.I am excited and happy and full of joy.Something which was started on a whim is alive and kicking even today only because of YOU.Thank you all of you,my regular readers and my friends and my silent readers and every one in between.A BIG thank you to all of you who made this space come alive!!
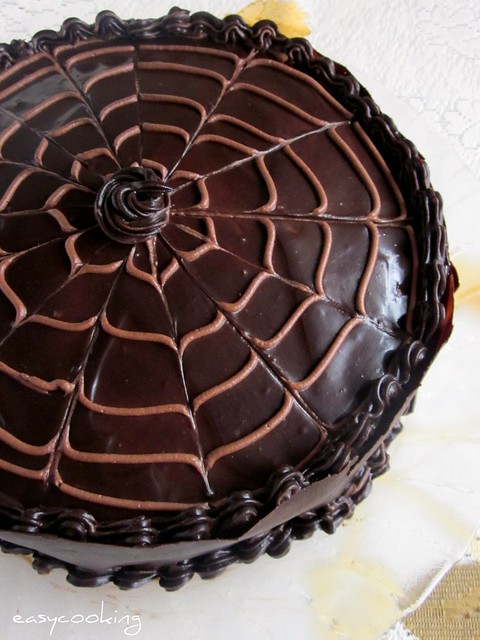
It only seems like yesterday when I announced the BIG Chocolate Cake event to celebrate my 2nd Bloggiversary.I was out of ideas this time and I almost skipped on the event part.But the only way I can reach out to you by giving you a month long treat is through an event,and as expected by me of you-a full fledged baking event,this time a Brownie!
Bake Brownies/Blondies/Bars of any kind-With eggs/without eggs,with chocolate/with cocoa,with nuts/without nuts,in short anything brownie and it is acceptable.I am a self confessed Brownie freak and would love to have a folder full of brownie recipes when the craving strikes.So would you join me on a month long Brownie event as I celebrate my joy??[March 1-April 5th]
All you have to do is bake a Brownie,link it to this post and add the link to the comment box of this post.Yes,it is as simple as that!!Non-bloggers can mail me the photo along with the recipe.If you have baked some lip-smacking brownies in the past and would like to send that too,do not hesitate-just add the link!!
And what would you get in return,well a round-up full of brownies for sure and a Brownie book to continue your brownie baking.I am giving away "The Ultimate Brownie Book" to one lucky reader*I have updated the Giveaway details here.[who will be picked in random].So don your aprons and start baking some brownies!!!
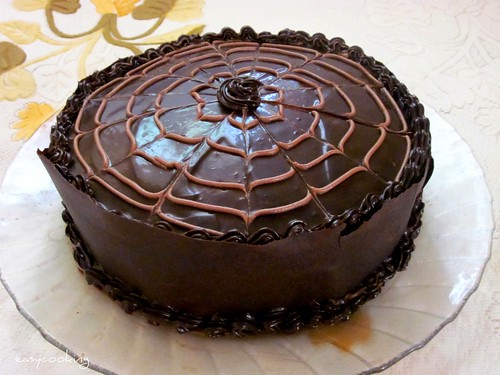
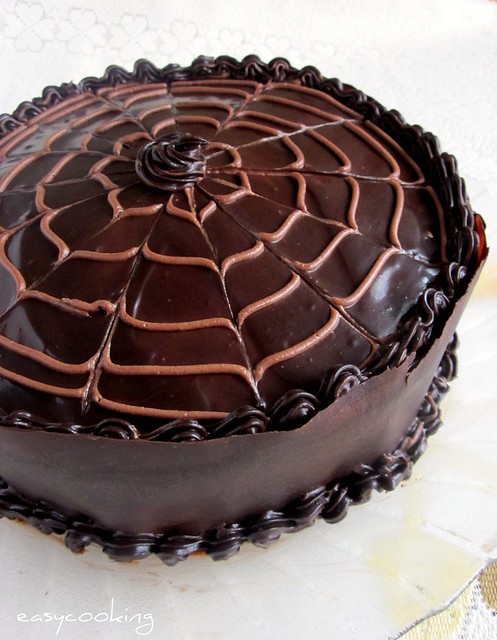
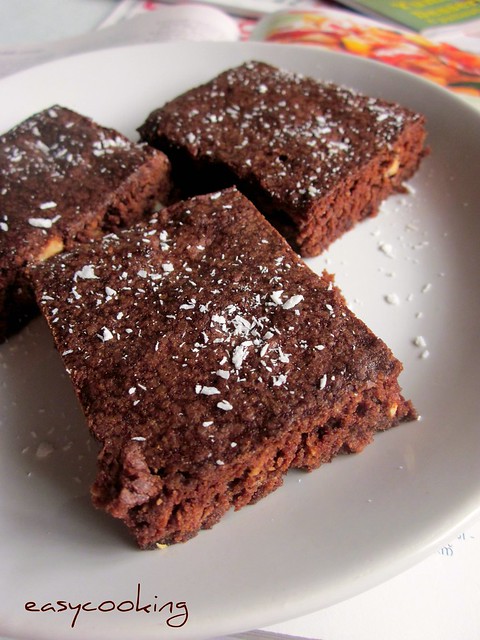
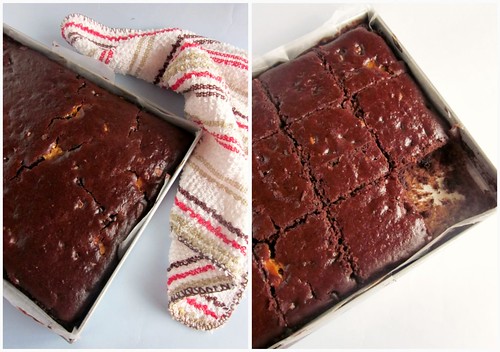
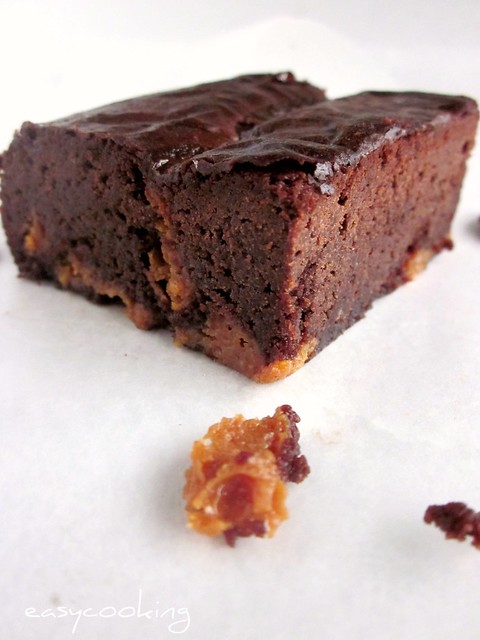
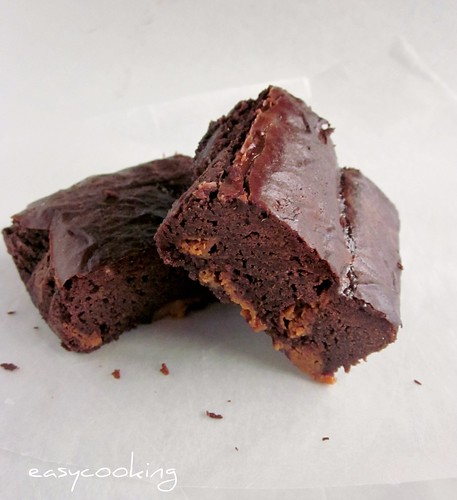
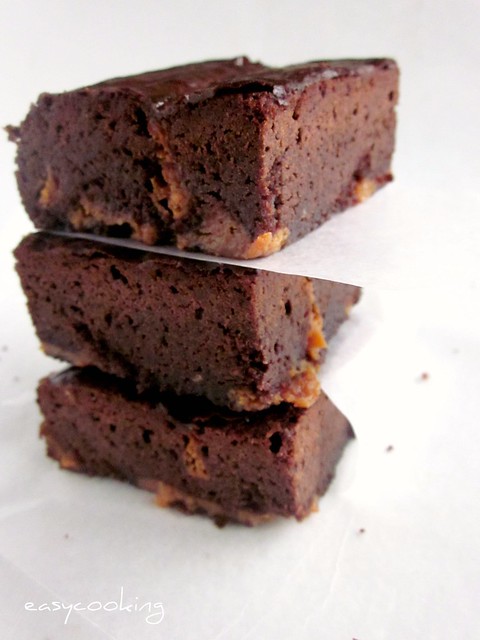
So to kick start the brownie fest,I have baked a batch of Dulce De Leche Brownies.No celebration is complete without a sweet and I couldn't let this mile stone pass without baking these wonders.I used Homemade Dulce de Leche which I had such a trouble saving without eating up the whole can myself.

I chose the very popular recipe by David Lebovitz.The recipe is quite simple and I could get everything done in less than 10 minutes.One thing did went wrong though,after about five minutes into baking,we had a power shutdown for about half an hour.I did not open the oven and let the brownies rest inside and started baking immediately after the power resumed.No worries,they still came out perfect!!
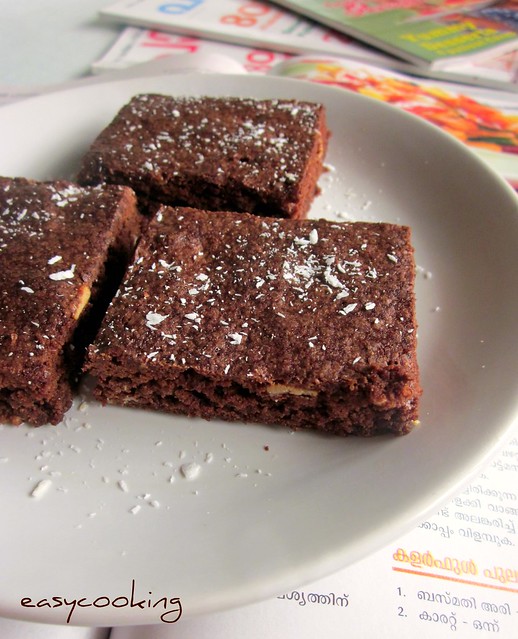
Dulce De Leche Brownies
Recipe source - David Lebovitz
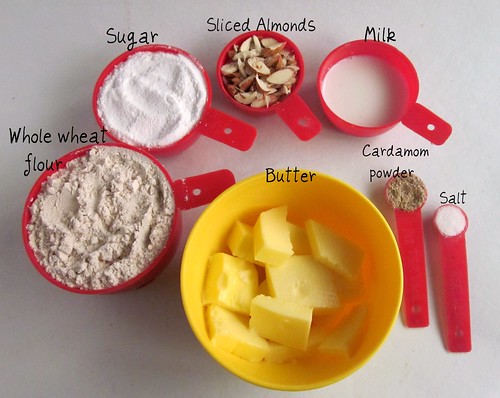
Ingredients
Salted/Unsalted butter - 115 gms / 8 tbsp
Bittersweet/Semisweet Chocolate - 170 gms / 6oz
Cocoa powder - 1/4 cup
Eggs - 3,large
Sugar - 1 cup
Flour - 1 cup
Dulce de Leche - 1 cup
Method
Preheat oven to 175C.Grease and line an 8' square baking tin.
Melt the butter in a medium saucepan. Add the chocolate pieces and stir constantly over very low heat until the chocolate is melted.
Remove from heat and whisk in the cocoa powder until smooth.
Add in the eggs one at a time, then stir in the sugar, vanilla, then the flour.
Scrape half of the batter into the prepared pan.
Drop one-third of the Dulce de Leche, evenly spaced, over the brownie batter, then drag a knife through to swirl it slightly. Spread the remaining brownie batter over, then drop spoonfuls of the remaining Dulce de Leche in dollops over the top of the brownie batter. Use a knife to swirl the Dulce de Leche slightly.
Bake for 35 to 45 minutes. The brownies are done when the center feels just-slightly firm. Remove from the oven and cool completely.
Notes
- My brownies were baked in 35 minutes[excluding the first five minutes before the power shutdown].Do check after 30 minutes as the brownies continue to cook after they are out of the oven.Overcooking would result in hard brownies,you do not want that!!
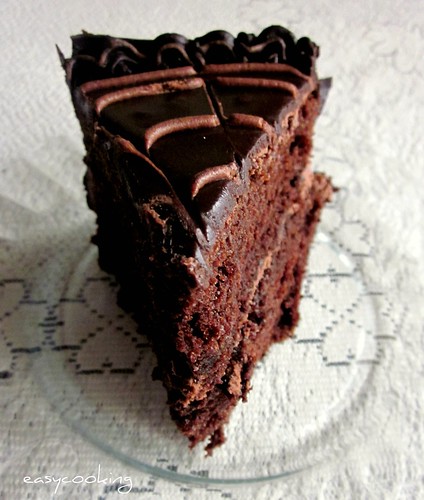
- Let the brownies cool completely before you slice them to get neat slices.I let it cool on the counter top and refrigerated it overnight.Slice it and before serving,just warm it in the microwave for a couple of seconds..absolutely divine!!
- You could also add some walnuts or chocolate chips in the batter,though they taste just as good without them!
So what are you waiting for..whip up some brownies fast and send it across to the event!!You can browse here for a start!
*Shipping Only within India