I was in double minds whether to post this or not.Ajay,someone who never interferes in what I blog about what aghast in hearing I was posting a Upma recipe.After all,Upma is something which is made at least once every week in most of the households,so who would need a recipe for an Upma??[so many 'upma's in one paragraph!]
As a newly married bride,one thing which I never tried making was this.I had heard so many stories of upma turning lumpy or too dry and inedible that I didn't want to risk my reputation.Though there was not much left after this incident,but still.After much thought,one day I finally brought a rava packet and made upma.It was not inedible,but not something to write home about too.I blamed the rava and decided I wouldn't make Upma ever again!!
After I gained some confidence in my cooking prowess,I tried making it again.I was amused by the simplicity of this dish and felt it did not deserve the bad press it was getting.Anyone could make an Upma,seriously.So here's my version.
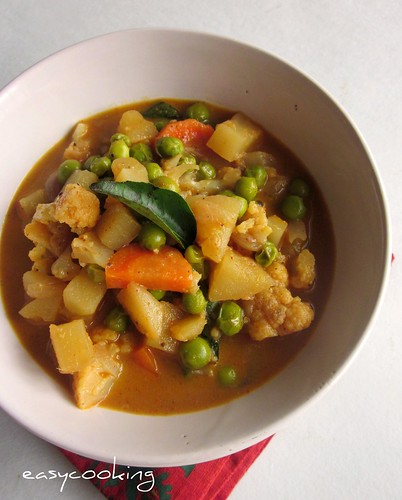
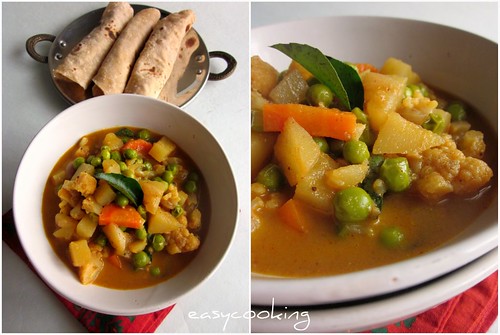
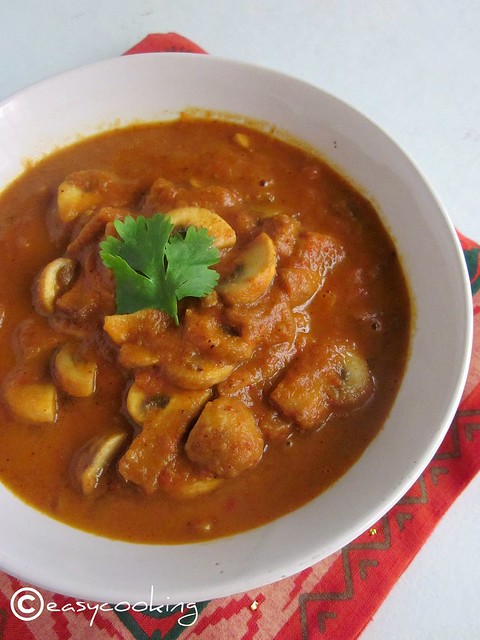
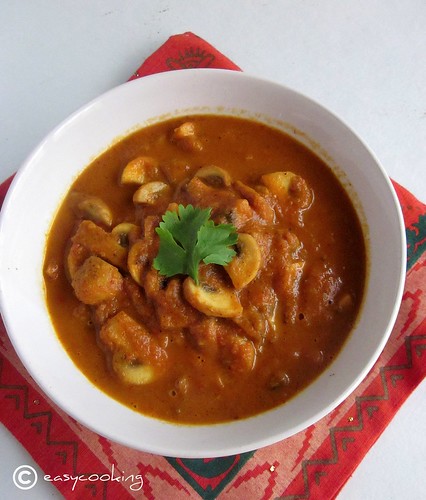
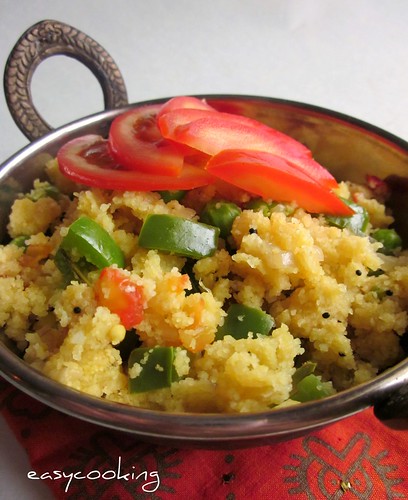
Mixed Vegetable Upma
Ingredients
Rava - 1 cup [ I used Bombay Rava]
Carrot - 1,cubed
Capsicum - 1/2 of one big-cubed
Green peas - 1/4 cup
Onion - 1 big,sliced
Tomato - 1 medium,chopped
Green chilly - 2,chopped
Ginger - 1' piece,finely chopped
Ghee - 1 tbsp
Mustard seeds - 1/2 tsp
Urad dal - 1/2 tsp
Methi seeds - 1/4 tsp
Curry leaves - 1 sprig
Haldi - 1/4 tsp
Salt to taste
Water - 2 1/2 to 2 3/4 cups
Method
In a thick bottomed kadai,add ghee and splutter mustard seeds,methi seeds and urad dal.When the urad dal starts to brown,mix in the green chilly,ginger and curry leaves and give a good stir.
Mix in the onions and saute till translucent,add the tomatoes and vegetables[carrots,capsicum and green peas].
Add haldi powder and rava and roast it for 2-3 minutes.
In another saucepan,boil the water with salt to taste.
Keep adding the water little by little to the vegetable-rava mix making sure you stir evenly.
Close with a lid,simmer and cook for about 5 minutes,stirring once or twice in between.
Serve hot.

As a newly married bride,one thing which I never tried making was this.I had heard so many stories of upma turning lumpy or too dry and inedible that I didn't want to risk my reputation.Though there was not much left after this incident,but still.After much thought,one day I finally brought a rava packet and made upma.It was not inedible,but not something to write home about too.I blamed the rava and decided I wouldn't make Upma ever again!!
After I gained some confidence in my cooking prowess,I tried making it again.I was amused by the simplicity of this dish and felt it did not deserve the bad press it was getting.Anyone could make an Upma,seriously.So here's my version.
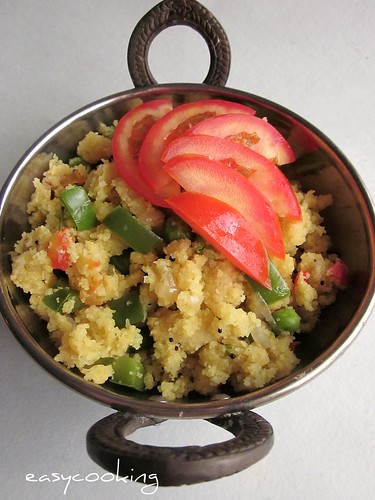
Mixed Vegetable Upma
Ingredients
Rava - 1 cup [ I used Bombay Rava]
Carrot - 1,cubed
Capsicum - 1/2 of one big-cubed
Green peas - 1/4 cup
Onion - 1 big,sliced
Tomato - 1 medium,chopped
Green chilly - 2,chopped
Ginger - 1' piece,finely chopped
Ghee - 1 tbsp
Mustard seeds - 1/2 tsp
Urad dal - 1/2 tsp
Methi seeds - 1/4 tsp
Curry leaves - 1 sprig
Haldi - 1/4 tsp
Salt to taste
Water - 2 1/2 to 2 3/4 cups
Method
In a thick bottomed kadai,add ghee and splutter mustard seeds,methi seeds and urad dal.When the urad dal starts to brown,mix in the green chilly,ginger and curry leaves and give a good stir.
Mix in the onions and saute till translucent,add the tomatoes and vegetables[carrots,capsicum and green peas].
Add haldi powder and rava and roast it for 2-3 minutes.
In another saucepan,boil the water with salt to taste.
Keep adding the water little by little to the vegetable-rava mix making sure you stir evenly.
Close with a lid,simmer and cook for about 5 minutes,stirring once or twice in between.
Serve hot.