It is turning out to be more difficult than I imagined to get back to blogging,baking and cooking in general.I think a 'home' holiday does that to you.I am still mentally stuck at my home in Ekm,with my baby boo[bro's kid] and family around.Luckily,I had a few posts in my drafts to see me through the so-called blogger's block.
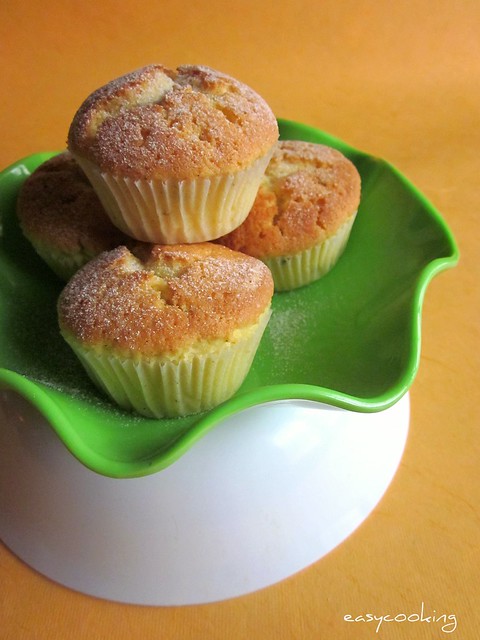
Lack of anything 'nice' to eat made me bake these cupcakes.The name itself says it all.It is a one-bowl cupcake with minimal fuss.You throw couple of ingredients together in a bowl and tada,your cupcakes would be ready.By the time I started to put everything together,I got excited and decided to use my precious Vanilla beans that I had stashed away in my cupboard.
Using just one vanilla bean,these cupcakes can be turned into triple vanilla cupcakes and you'd end up with a cupcake with a highly pronounced vanilla flavour,which is so different from the regular cupcakes.
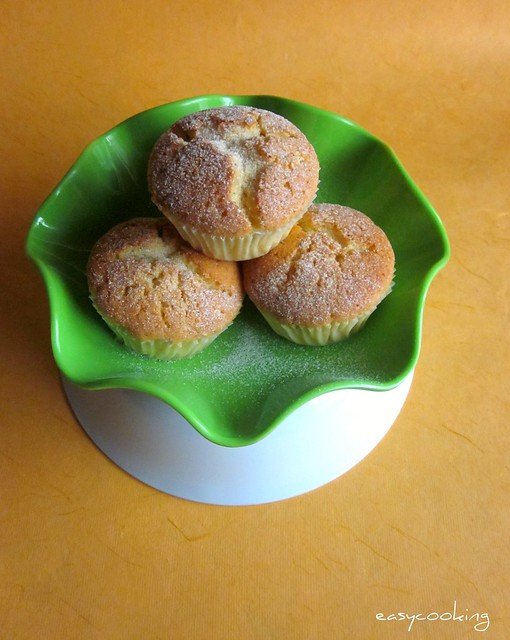 One-Bowl Triple Vanilla Cupcakes
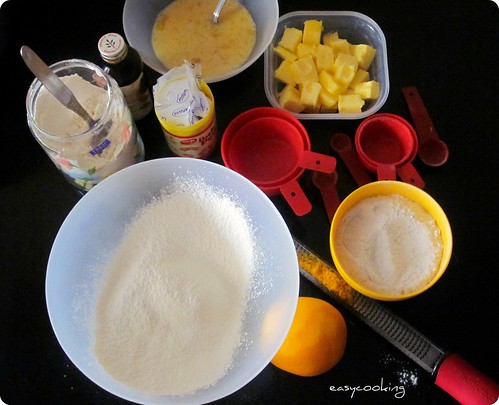
Ingredients[makes 18 cupcakes]
Butter - 125 gms,unsalted-at room temperature
Powdered Sugar - 1 cup
Vanilla bean - 1,cut into half lengthwise using a sharp knife and scrape the seeds
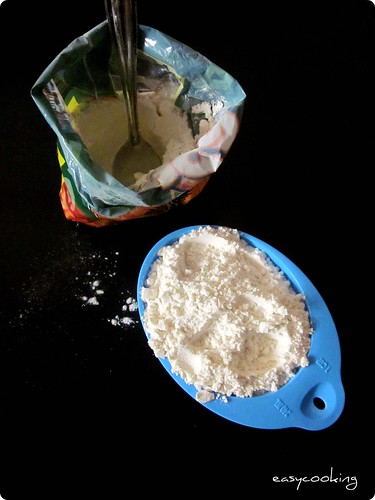
Flour - 1 1/2 cups [I used Cake flour]
Milk - 1/2 cup
Vanilla extract - 1 tsp
Method
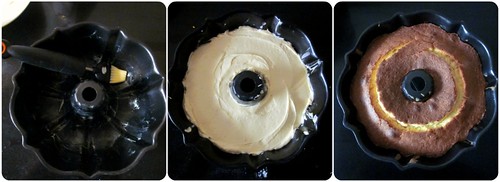
Preheat oven to 180C.Grease/line a cupcake tin.
Powder the sugar with the used vanilla bean to get vanilla sugar.Sieve and keep aside.
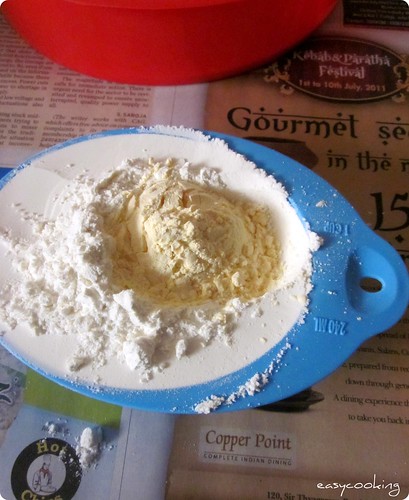
Sift together flour and baking powder.
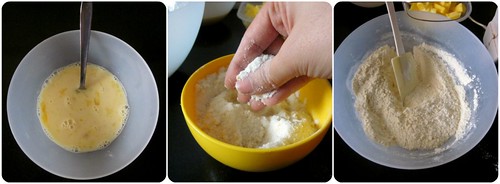
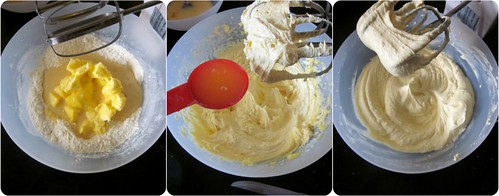
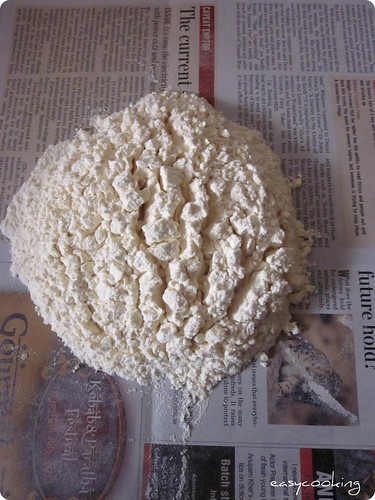
Cream the butter and powdered sugar along with the scraped vanilla seeds for a minute.
Add the flour,eggs,milk and vanilla essence and beat on low speed till everything gets mixed.Beat on high speed for 2-3 minutes till the batter becomes pale and fluffy.
Divide the batter equally among the cupcake moulds and bake for 20-25 minutes or till the cupcakes become golden brown and a toothpick inserted into the center comes out clean.
Cool on a wire rack and dust with powdered vanilla sugar before serving.
*Recipe courtesy - Lakshmi Nair
Lack of anything 'nice' to eat made me bake these cupcakes.The name itself says it all.It is a one-bowl cupcake with minimal fuss.You throw couple of ingredients together in a bowl and tada,your cupcakes would be ready.By the time I started to put everything together,I got excited and decided to use my precious Vanilla beans that I had stashed away in my cupboard.
Using just one vanilla bean,these cupcakes can be turned into triple vanilla cupcakes and you'd end up with a cupcake with a highly pronounced vanilla flavour,which is so different from the regular cupcakes.
One-Bowl Triple Vanilla CupcakesIngredients[makes 18 cupcakes]
Butter - 125 gms,unsalted-at room temperature
Powdered Sugar - 1 cup
Vanilla bean - 1,cut into half lengthwise using a sharp knife and scrape the seeds
Flour - 1 1/2 cups [I used Cake flour]
Baking powder - 2 1/2 tsp
Eggs - 3 [I used 2 and the cupcakes turned out just fine]Milk - 1/2 cup
Vanilla extract - 1 tsp
Method
Preheat oven to 180C.Grease/line a cupcake tin.
Powder the sugar with the used vanilla bean to get vanilla sugar.Sieve and keep aside.
Sift together flour and baking powder.
Cream the butter and powdered sugar along with the scraped vanilla seeds for a minute.
Add the flour,eggs,milk and vanilla essence and beat on low speed till everything gets mixed.Beat on high speed for 2-3 minutes till the batter becomes pale and fluffy.
Divide the batter equally among the cupcake moulds and bake for 20-25 minutes or till the cupcakes become golden brown and a toothpick inserted into the center comes out clean.
Cool on a wire rack and dust with powdered vanilla sugar before serving.
*Recipe courtesy - Lakshmi Nair