Time flies..and how!I thought I missed baking only the whole wheat loaf,but I see I've missed the Cinnamon rolls and time's running out for this month's WKtB as well.What better way to kick start the bakes than with this good ol' sandwich loaf.I'd be lying if I told you I didn't find the steps too long.I mean,it's after all a sandwich loaf right,wrong!
 We love our bread loaf at home.White,spongy and melt in the mouth bread from the local bakery.Whenever we've tried to switch to whole wheat bread,we've come right back to the white bread.Either the loaves are too dry and tasteless or they are just white bread in brown colour(with caramel added).Ever since I've started baking breads,the thought of baking with atta/whole wheat flour has always been there at the back of my mind.
Somehow,breads baked with atta/wwf tend to be a little dense,tasty nevertheless but for someone who's been accustomed to super soft bread made with APF all their lives,this one is a bit hard to digest(no pun intended!)
 When Aparna suggested a 100% Whole wheat sandwich loaf for WKtB,I was apprehensive to try it.But when I read through the recipe,there was an option for adding 50-50 combination of whole wheat flour and all purpose flour and I knew I had to try it.The recipe intrigued me,using a soaking procedure and a Biga/Sponge which is the secret to the softness and texture of this bread.
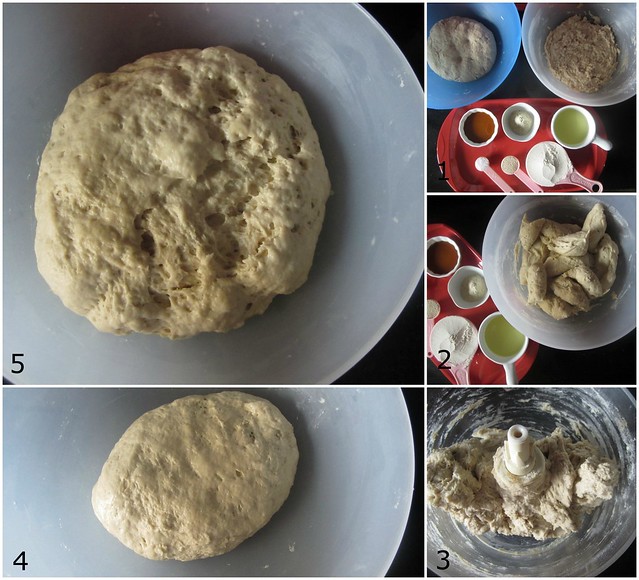
 Though the steps seem a bit daunting at first,all you require to make this bread is a little planning.Make the soaker and biga a day before you plan the bread.Rest of the procedure is simple.I used my food processor to knead the dough but you can knead it with hand as well,though I have to warn you-the dough would be a little messy to knead by hand as it is a lot stickier than regular bread dough.
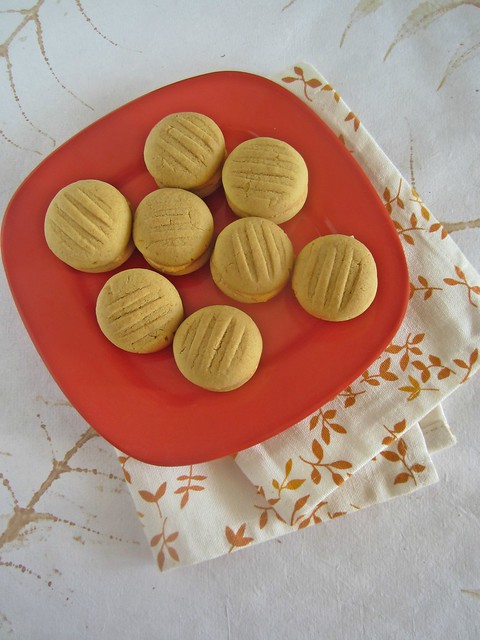
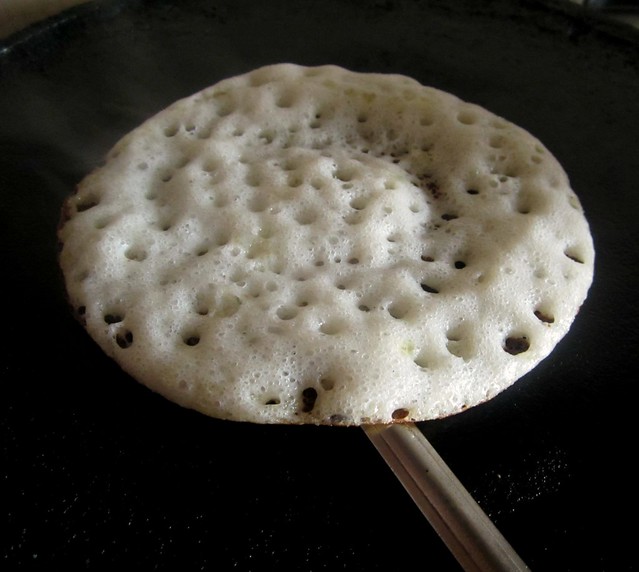
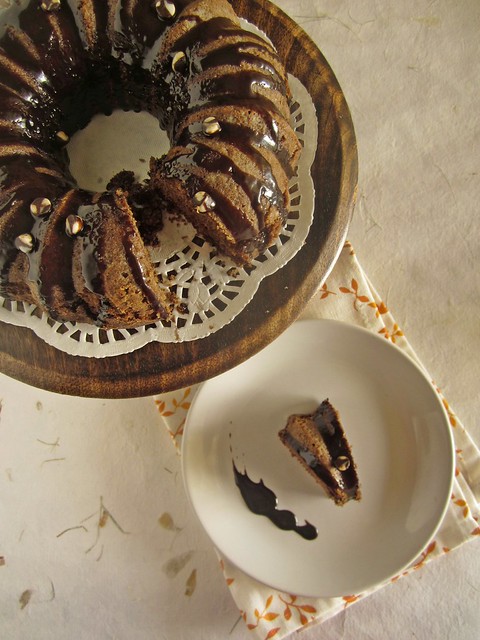
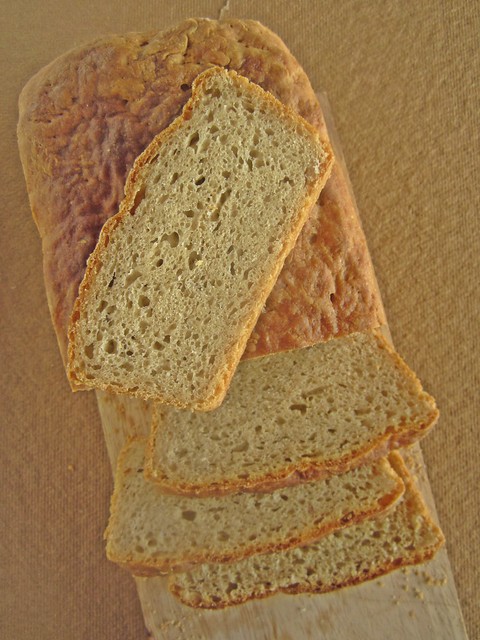
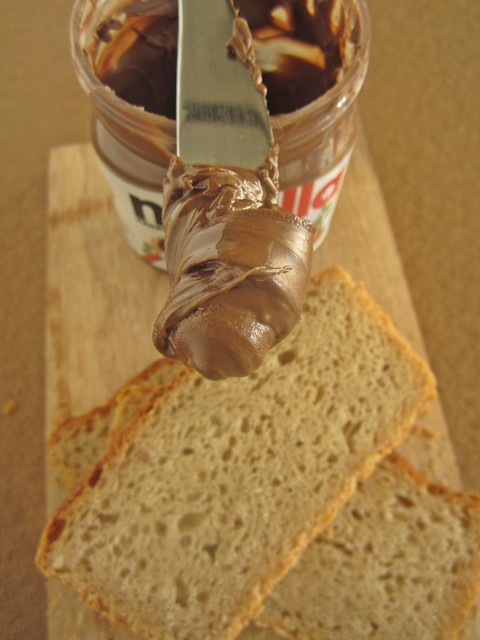
My bread looks a bit flatter and wider because of the size of my loaf pan.I had initially planned to make two loaves but ended up making one big loaf.Wait for the loaf to cool down completely before slicing to get neat slices.With a chewy crust and a soft inside,this one was a successful bake.We had some plain,some sandwiched in Nutella and some toasted as well.If you are not consuming the bread immediately,keep it refrigerated.
 Whole Wheat Sandwich Bread - We Knead to Bake #10
Recipe source - Aparna;Original Recipe from Peter Reinhart’s Whole Grain Breads
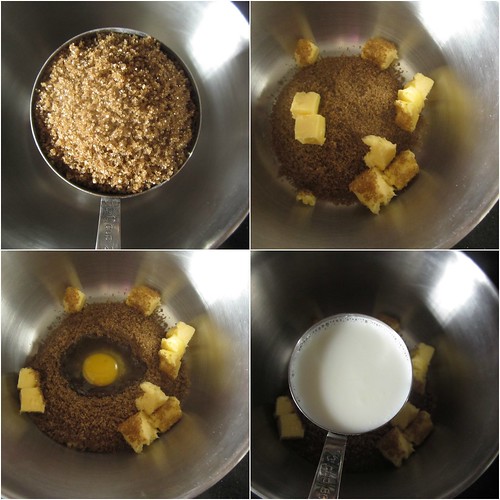
Now make the Biga/ Sponge.
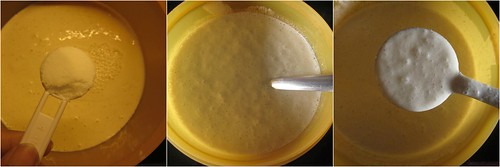
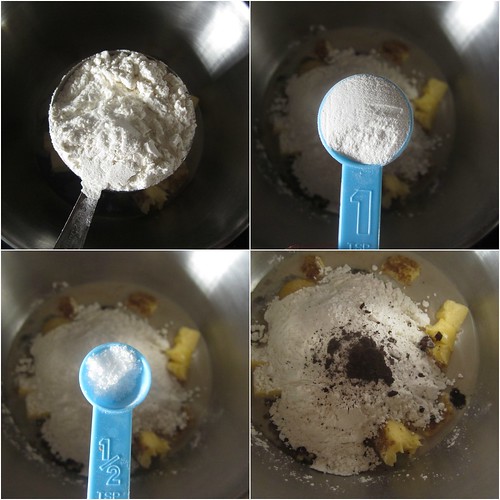
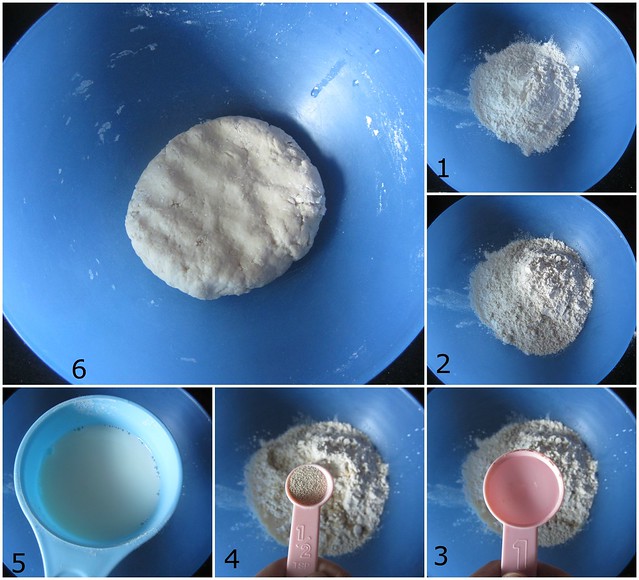 Mix all of the Biga/ Sponge in a bowl and knead together well till a soft ball forms. Again you might need more than the originally suggested 3/4 cup of liquid. Cover and refrigerate for at least 8 hours or overnight. This will keep for up to 3 days.
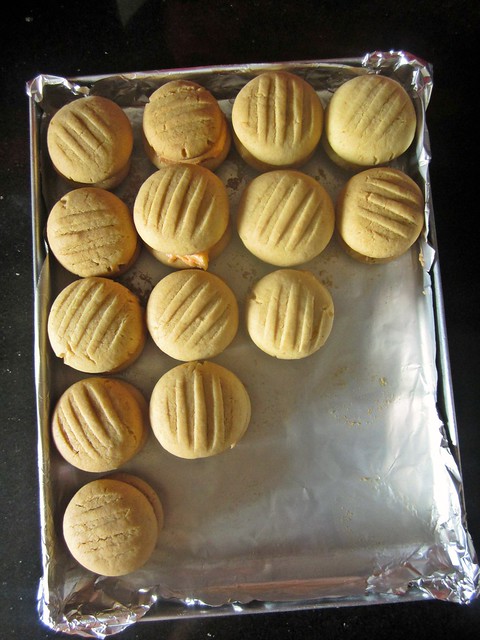
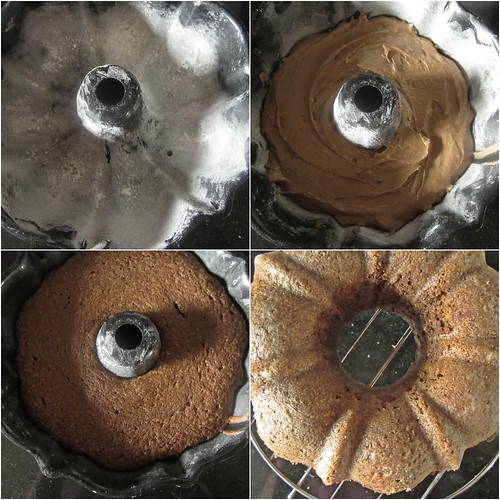
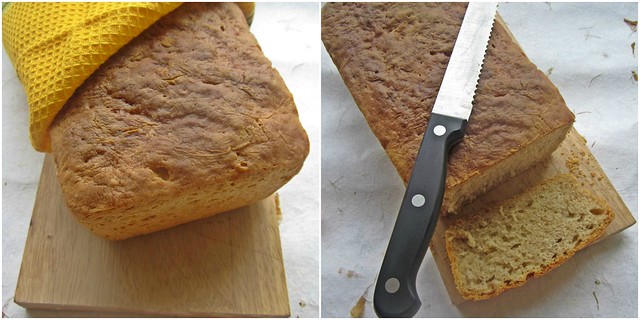
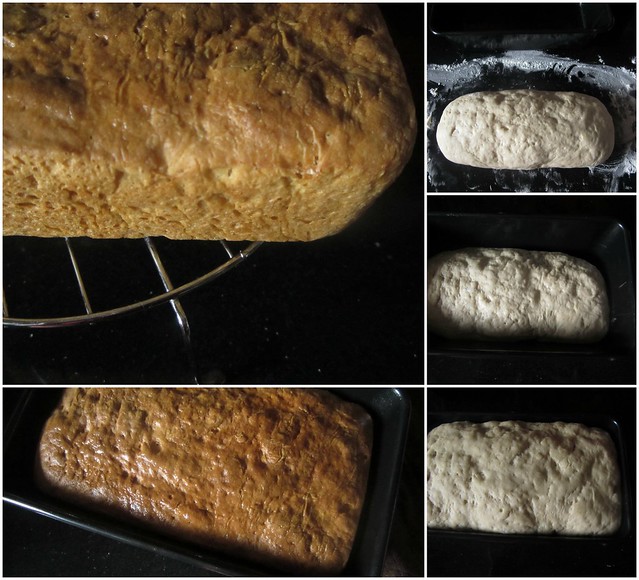 Place your loaf in a greased and floured loaf tin and let it rise until it is just higher than your loaf tin. Bake the loaf at 180C (350F) for about 40 to 45 minutes until the top is a nice deep brown colour and the loaf sounds hollow when tapped.
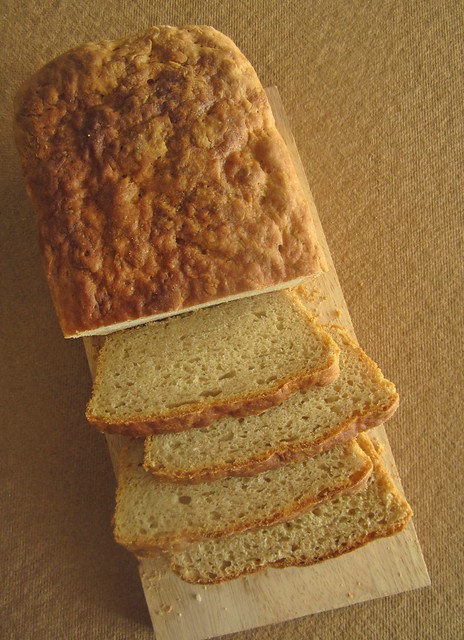
 Let the loaf cool completely (at least for about 2 hours), before slicing it. Refrigerate the loaf if not consuming immediately.
Somehow,breads baked with atta/wwf tend to be a little dense,tasty nevertheless but for someone who's been accustomed to super soft bread made with APF all their lives,this one is a bit hard to digest(no pun intended!)
My bread looks a bit flatter and wider because of the size of my loaf pan.I had initially planned to make two loaves but ended up making one big loaf.Wait for the loaf to cool down completely before slicing to get neat slices.With a chewy crust and a soft inside,this one was a successful bake.We had some plain,some sandwiched in Nutella and some toasted as well.If you are not consuming the bread immediately,keep it refrigerated.
Whole Wheat Sandwich Bread - We Knead to Bake #10Recipe source - Aparna;Original Recipe from Peter Reinhart’s Whole Grain Breads
Ingredients:
For The Soaker:
1 3/4 cups whole wheat flour(I used 1 cup all purpose flour and 3/4 cup whole wheat flour)
1/2 tsp salt
3/4 to 1 cup water at room temperature
1 tbsp vinegar (apple cider or plain)
For The Biga/ Sponge:
1 3/4 cups whole wheat flour(I used 1 cup all purpose flour and 3/4 cup whole wheat flour)
1/4 tsp instant yeast
3/4 cup milk (or a little more)
1 tbsp vinegar (apple cider or plain)
For The Final Dough:
All of the Soaker
All of the Biga/ Sponge
1 1/2 tsp Vital Wheat Gluten (optional)
1/2 to 3/4 tsp salt
1/3 cup whole wheat flour (and a few tbsp. more if required)
2 tsp instant yeast
1/8 cup oil (or melted butter if preferred)
2 tbsp honey
Method:
First make the Soaker.
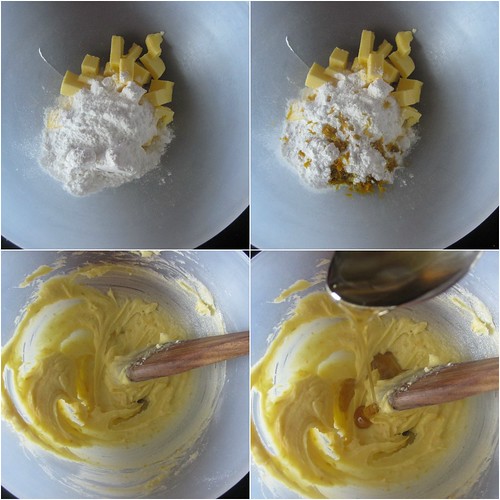
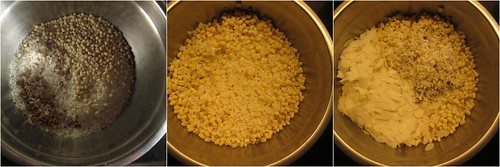
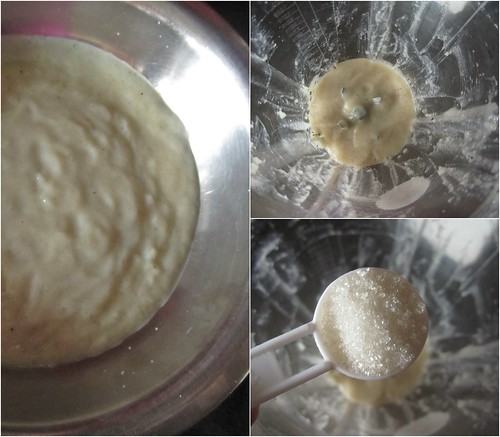
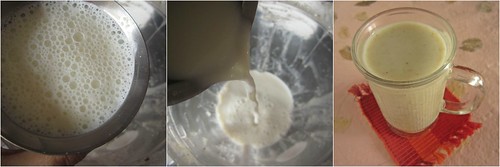
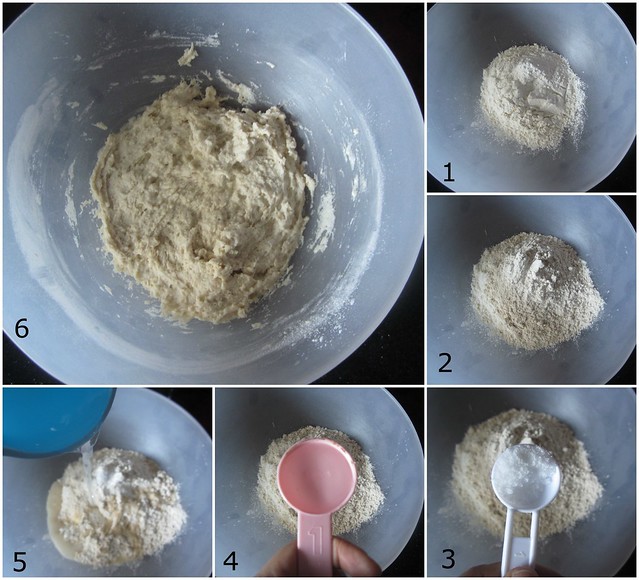 Mix all of the Soaker ingredients together in a bowl until all of the flour is hydrated.Depending on the flour,you might need more than the original 3/4 cup of water suggested. So I would suggest using 3/4 cup water and then adding a little at a time, until you have the desired consistency. Your Soaker should be somewhat like reasonably firm bread dough in consistency. Cover the bowl loosely with plastic wrap and leave at room temperature for 12-24 hours.
Mix all of the Soaker ingredients together in a bowl until all of the flour is hydrated.Depending on the flour,you might need more than the original 3/4 cup of water suggested. So I would suggest using 3/4 cup water and then adding a little at a time, until you have the desired consistency. Your Soaker should be somewhat like reasonably firm bread dough in consistency. Cover the bowl loosely with plastic wrap and leave at room temperature for 12-24 hours. Now make the Biga/ Sponge.
Mix all of the Biga/ Sponge in a bowl and knead together well till a soft ball forms. Again you might need more than the originally suggested 3/4 cup of liquid. Cover and refrigerate for at least 8 hours or overnight. This will keep for up to 3 days.
Two hours before you plan to mix your dough for the bread, remove the Biga from the refrigerator and allow it to come to room temperature. You might find your Biga rising a little during this time.
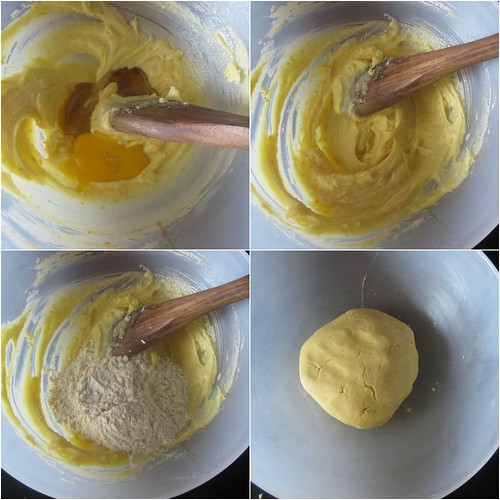
Divide the Biga and Soaker into small pieces (about 12 pieces each) using a sharp knife or scraper and put them in the food processor bowl (or stand mixer). You can knead this by hand too, but the dough will be tacky and a little difficult to manage. Do not be tempted to add more flour, when it is time to, than necessary.
Add the remaining ingredients for the dough, except the 1/3 cup flour) and knead for about 3 minutes. Let it rest for 5 minutes, then add as much flour as needed (if necessary) to the dough and knead for another 3-4 minutes. Your dough should now come away from the sides of the bowl but still be a little sticky but somewhat manageable. It’s really important to not add too much extra flour during this step.
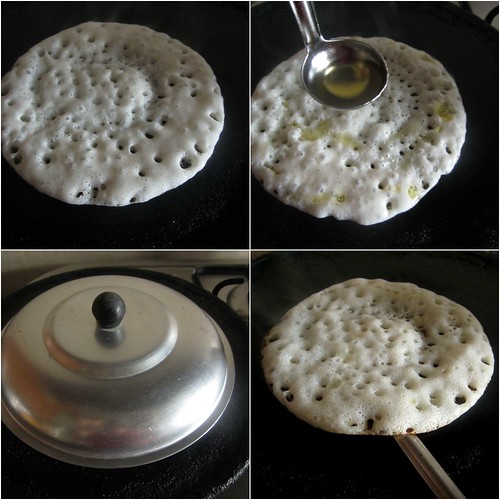
Place the dough in a lightly oiled bowl and let rise until almost doubled (about 1 1/2 hours). Then turn out the dough onto a lightly floured surface and pat the dough out into a rectangle with a width that just a bit less than your loaf tin. See that you do not tear the dough. Roll it up and shape into a loaf (see the video, if you need it).
Place your loaf in a greased and floured loaf tin and let it rise until it is just higher than your loaf tin. Bake the loaf at 180C (350F) for about 40 to 45 minutes until the top is a nice deep brown colour and the loaf sounds hollow when tapped.