skip to main
|
skip to left sidebar
skip to right sidebar
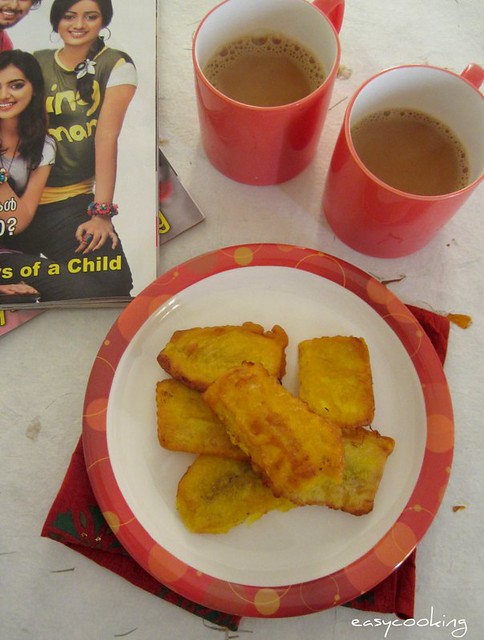
I was confused what to name this favorite of mine.Ever since I remember we used to say Pazham pori and nothing else.These days I am hearing the name Ethakkappam more often and hence thought will add it in the title too.Whenever I make this(and I make it once in a fortnight at least)I think I should blog about this.But since 99% of the time,I'll be making it to pair with tea and we just cannot wait to start eating it piping hot,right from the kadai to the plate,it keeps getting postponed.
One more reason I wanted to blog about this was the ingredients.Most of the recipes I've come across use Maida or all purpose flour as the coating for deep frying.My friend mixes atta along with maida for a healthier version(although it is deep fried!).
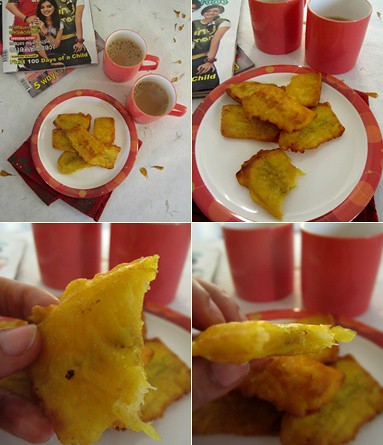 Amma uses rice flour,yes that's right.No prizes for guessing I follow her recipe too.I asked her how she came to using rice flour when the so-called authentic version uses maida.She said we liked it crisp on the outside and soft on the inside texture and rice flour soaks up less oil while frying and hence maybe she started using it.
Pazham pori pairs up well with Tea or Coffee and makes for perfect travel food.Amma always packed few of these in a dabba when we traveled and we waited for the chaiwala to come so that we could open up the dabba and dig right in!
Amma uses rice flour,yes that's right.No prizes for guessing I follow her recipe too.I asked her how she came to using rice flour when the so-called authentic version uses maida.She said we liked it crisp on the outside and soft on the inside texture and rice flour soaks up less oil while frying and hence maybe she started using it.
Pazham pori pairs up well with Tea or Coffee and makes for perfect travel food.Amma always packed few of these in a dabba when we traveled and we waited for the chaiwala to come so that we could open up the dabba and dig right in!
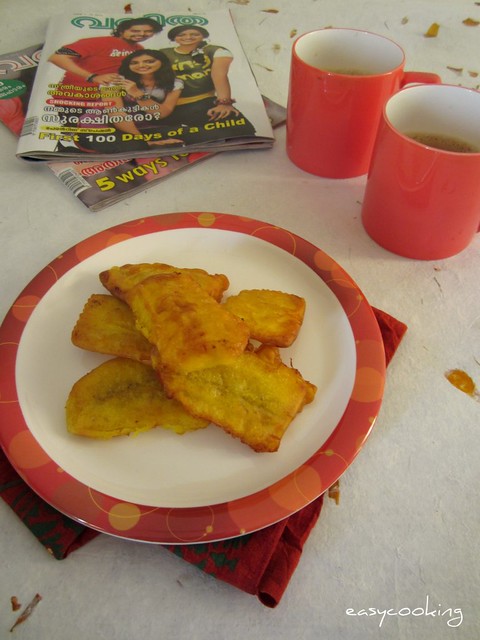 Pazham Pori /Ethakkappam - Banana Fritters
Ingredients
Rice flour - 1 cup ( I used Nirapara brand)
Sugar - 1 tsp
Salt to taste
Haldi - a pinch
Water as required to make the batter
Nendrapazham / Ripe Banana -1,sliced thinly
Coconut oil - to deep fry
Method
Slice the banana -cut the banana into three vertically,then slice each piece into 3-4 thinly.
Make a batter using rice flour,sugar,salt,haldi and enough water to make a smooth batter.
Heat a kadai with enough oil to deep fry.
Dip the sliced bananas into the batter one by one and drop into the hot oil.Fry 4-5 pieces at a time,not more.
When it starts turning golden brown flip and cook on the other side too.
Drain on a tissue paper and serve hot.
It was a different demand from birthday boy this year.No cake at all,can you imagine!!Well,he had a reason after all.We had a party at home few days back thrown for Ajay's colleagues in our new abode.We ate so much brownies and ice-cream that we just couldn't imagine making/eating anything sweet for the next few days.
But what's a birthday if there's no cake?As most of you know,I am wary of baking sponge cakes.Have tried it a few times before,some resulting in flat cakes and sometimes hard discs.This time,I was short of time and the oven was not behaving well too.I am yet to get used to the new oven and the icing on the cake was the power outage right during half time.
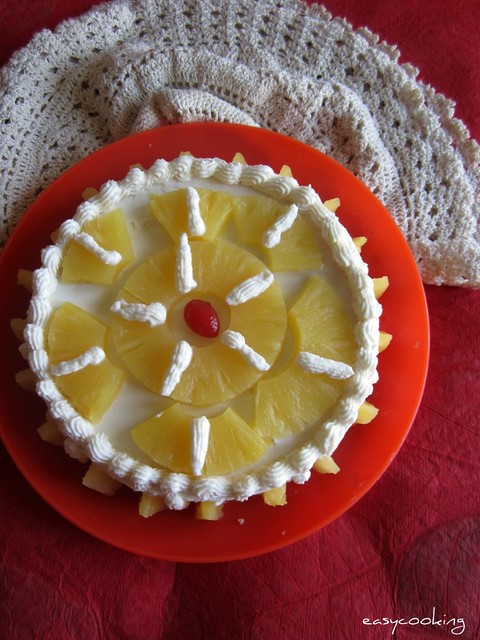 I didn't give up and went ahead with the flat cake.Whipped up the cream in my food processor which took less than 5 minutes to whip and hold shape.Finished off with some pineapple slices and kept my fingers crossed till we cut it.It wasn't bad after all.The texture was of course wrong(it was a bit grainy/coarse) but it tasted delicious,now I know how it feels to bite into moist cakes made at home.
Update - I am surprised that few anonymous commentators feel that if the texture is wrong,the whole dish goes kaput!Really?I did a quick Google search just to confirm the texture of sponge cakes.Many recipes state that even if the cake doesn't rise much it is fine since you'd be filling it up with cream or any other filling of your choice.The cake took to the moistening syrup well and remained moist.If you look through the step by step pics,you'll know the texture to an extent.I could still cut the cake horizontally into two in a decent size.Probably if I had used an 8' pan,it wouldn't have come out as flat.
After the first slice was cut,I immediately made some custard and transformed the cake into a trifle pudding.Now I wasn't going to waste the precious cake,was I:)
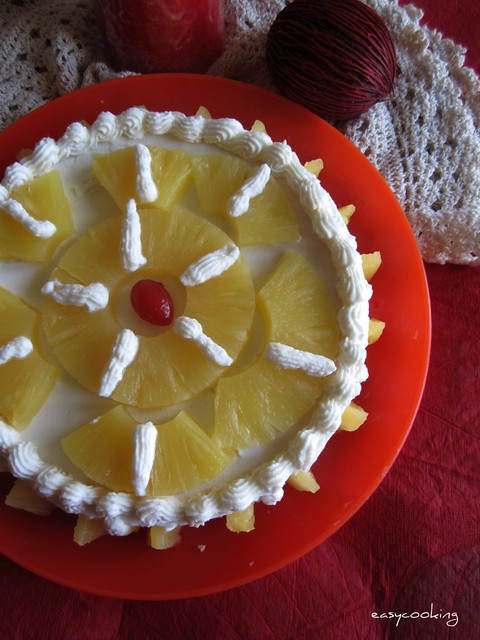 Pineapple Cream Cake
Ingredients
For the sponge - Recipe source PAB
Eggs - 3
Sugar - 1/2 cup
Vanilla extract - 1 tsp
Flour - 1/2 cup
Method
Preheat oven to 190C.Line a 9' round cake tin with parchment paper.
Beat together the eggs and sugar for 10-12 minutes on medium speed till it becomes pale and triples in volume.
Drizzle in the vanilla extract.
Spoon in the flour 1 tbsp at a time and fold in gently using figure eight moves to ensure you don't release the air.
Pour into the prepared tin and bake for 30-35 minutes or till the top becomes golden brown and the cake springs back when touched.
Peel off the parchment,let the cake cool completely and trim off the crust and cut the cake into half horizontally.
For the filling and frosting
Cream - 400ml - I used Amul
Sugar - 4 tbsp
Vanilla extract - 1 tsp
Pineapple slices - 3-4(canned)
Pineapple syrup - 1/2 cup(the sugar syrup from the tin)
Method
Whip the cream in a food processor for 2-3 minutes till the cream forms peaks and holds shape.Mix in the sugar and vanilla extract and keep chilled.
Keep 2-3 slices for decorating on top,chop the rest of the pineapple into small pieces.
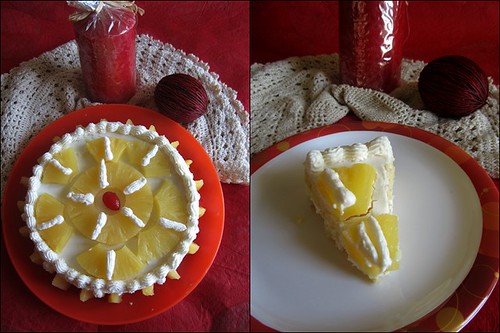 Assembly
In a serving plate,keep one layer of cake and drizzle the pineapple syrup on top.Brush some one the sides too.
Top with 1/3 of the cream and chopped pineapple.
Cover with the top layer and 1/2 of the cream.
Decorate with whole pineapple slices and whipped cream swirls on top.
Chill for 3-4 hours.
Nothing can pep me up more than a decadent piece of chocolate cake.I've said this before,I'll say it now,I am a big time Chocoholic but there is a catch,it is only limited to baked goodies-cakes,brownies etc.I can give a chocolate bar a pass if I am in no mood.I might eat a piece or two of cadbury's,but that's it.I don't eat Nutella straight from the jar but I eat spoonfuls of ganache from the fridge.Strange,isn't it?
On our last visit to Homecenter,I decided to get myself some new silicone baking pans and the first one was the loaf pan.Since we carry around our measuring tape everywhere,I quietly measured the size and to my surprise,it was the perfect sized loaf pan 9" x 5" .I've been thinking what to bake in it for sometime and a loaf cake was the best bet.
Thanks to my addiction with yeast,I am constantly scouring through bread baking sites.Came across this recipe on King Arthur Flour site and I immediately gave it a try.The cake takes a bit longer to bake but the end result was so worth it.Perfect crumb,chocolaty and moist and drizzled with ganache it makes for a perfect dessert.
Chocolate Loaf Cake
Recipe source - King Arthur Flour
Ingredients
Butter - 100gms
Sugar - 1 1/2 cups
Salt - 3/4 tsp
Vanilla extract - 2 tsp
Baking powder - 1/2 tsp
Instant coffee powder - 1 tsp
Cocoa powder - 2/3 cup
Eggs - 3 large
All purpose flour - 1 1/4 cups
Milk - 3/4 cup
Method
Preheat oven to 160C.Grease and line a 9" x 5" loaf pan.
In a medium-sized mixing bowl, beat together the butter, sugar, salt, vanilla, baking powder, espresso powder, and cocoa to make a sandy, somewhat clumpy mixture.
Don't worry; the eggs will smooth things out.
Add the eggs one at a time, beating well after each addition. Scrape down the sides and bottom of the bowl midway through this process.
Add half the flour to the bowl, beating at low speed to combine.
Add all of the milk, beating at low speed to combine.
Add the remaining flour, beating gently just until the batter is smooth.
Pour the batter into the prepared pan.
Bake the cake for 75 to 80 minutes, or until a toothpick inserted into the center comes out clean. The top may look a tiny bit damp; that's OK.
Remove the cake from the oven, loosen the edges, wait 10 minutes, and turn it out of the pan onto a rack to cool.
Store completely cooled cake well wrapped, at room temperature.
Yield: 12 to 18 servings.
To make enough ganache for pouring on top of the cake - Heat up 100ml of cream(I use Amul)in a microwave safe bowl for 1 minute or until bubbles start appearing on the sides.Add 100gms chopped dark chocolate and mix.You could add a tbsp of rum or coffee to pep it up.If the chocolate doesn't melt completely keep the bowl in the MW for a further 30 seconds.Refrigerate until it thickens enough to pour.
Notes
- Though the recipe says the batter yields enough for a 9x5 loaf pan,I had some batter extra-enough to make six small cupcakes.
- The cake tastes great on its own,but a little drizzle of ganache can always pep it up.The original recipe suggests peanut butter frosting-YUM
- Cake remains moist even after refrigerating.Perfect for a trifle pudding or even cake pops!



 Make a batter using rice flour,sugar,salt,haldi and enough water to make a smooth batter.
 Heat a kadai with enough oil to deep fry.
 Dip the sliced bananas into the batter one by one and drop into the hot oil.Fry 4-5 pieces at a time,not more.