Tuesday, March 31, 2015

Eggless Devil's Food Cake


I'm back!!

I hope I don't sound like a Hollywood movie hero(picture Arnold as Terminator! Lol)I really feel so happy to be back to blogging and hope to blog once in a while at least,if not regularly.

So,a lot of things have changed in the past year.2014 was a very very special year for us,with the arrival of our dear Arjun who has made our life worth living for.It was an eventful year but the blog bore the brunt as I struggled with regular everyday cooking,leave along cooking for the blog.Our anniversary,Ajay's birthday went without a cake for the first time in years!

As we start our new life as parents,I hope to contribute a little to the blog as well.Sweet beginnings with something sweet :)
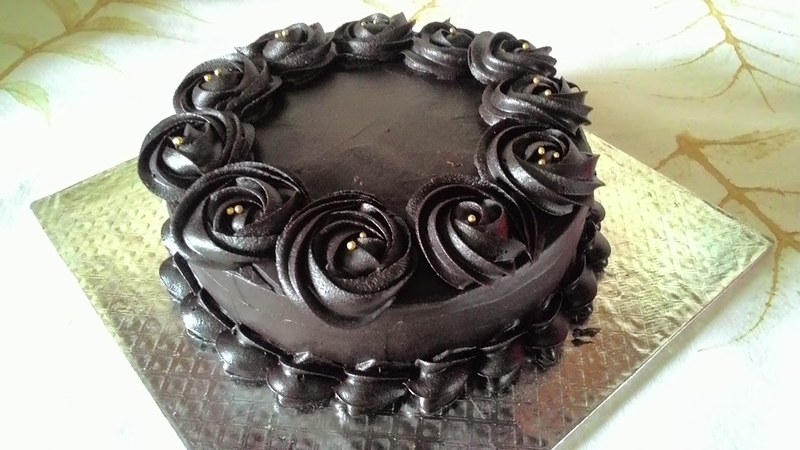
Eggless Devil's Food Cake
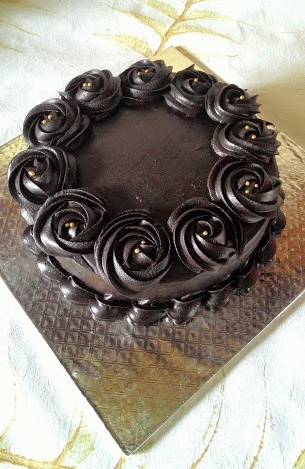
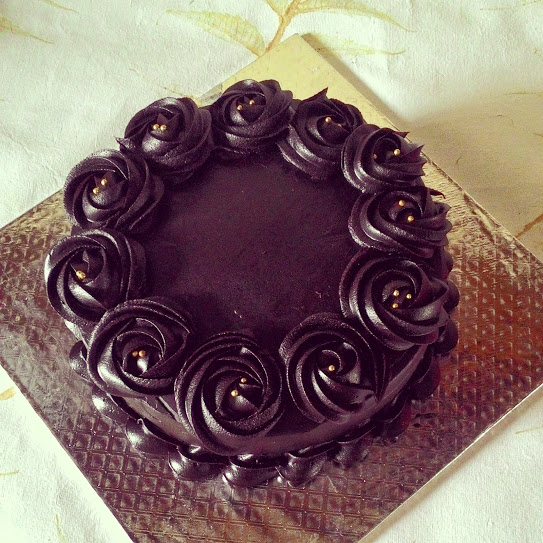
I made this cake a while back for a birthday cake order.All the birthday girl wanted was a double chocolate cake loaded with chocolate chips.I stuck to my foolproof recipe which gives a super moist chocolate cake,each and every time.So when this year,as always,Ajay asked for a chocolate cake for his birthday I remembered this cake.Especially since when I posted a picture of this cake on Instagram,I was loaded with recipe requests for the same.

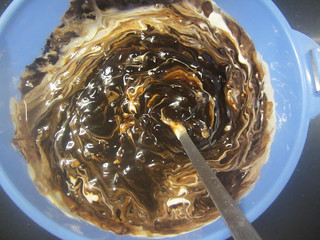
I chose to name this one a Devil's food cake because of the lovely deep,dark Mahogany colour.
IMG_20150326_141729
Devil's food cake is generally more moist and airy than other chocolate cakes, and often uses cocoa as opposed to chocolate for the flavor as well as coffee.The lack of melted chocolate and the addition of coffee is typically what distinguishes a Devil's food cake from a chocolate cake, though some recipes call for all, resulting in an even richer chocolate flavor. The use of hot, or boiling water as the cake's main liquid, rather than milk, is also a common difference.Devil's food cake is sometimes distinguished from other chocolate cakes by the use of additional baking soda (sodium bicarbonate) which raises the pH level and makes the cake a deeper and darker mahogany color[source]
Eggless Devil's Food Cake

Eggless Devil's Food Cake

Ingredients

Maida/All purpose flour - 1 1/2 cups
Cocoa powder - 4 tsp
Baking soda - 1 tsp
Salt - 1/4 tsp
Water - 1 cup
Sugar - 1 cup
Vanilla - 1 tsp
Vinegar - 1 tsp
Oil - 1/4 cup

Method

Preheat the oven to 180C.
IMG_6102
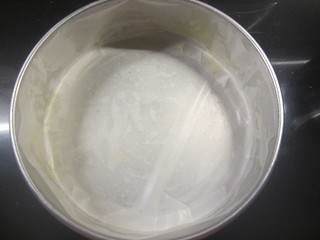
Grease/Line an 8' round cake tin.
IMG_6089 
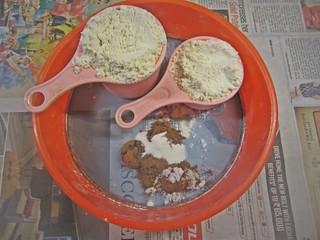
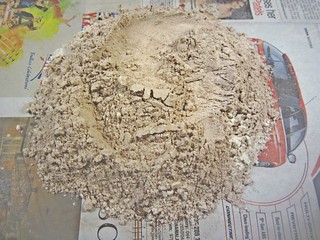
Sift together the dry ingredients - maida,cocoa,baking soda and salt,reserve.
IMG_6091
In a mixing bowl add sugar,
IMG_6092 
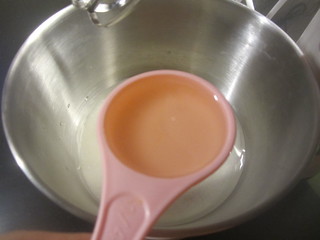
water,
IMG_6093 
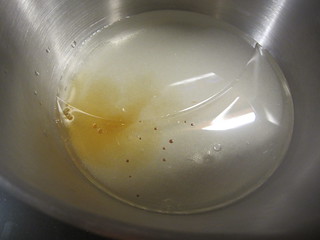
oil,
IMG_6094 
vanilla 
IMG_6095 
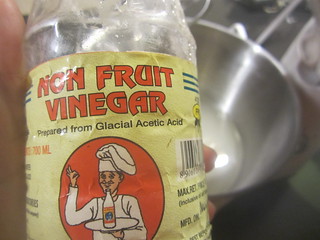
and vinegar.
IMG_6096
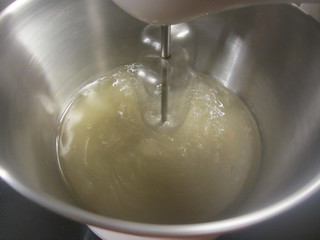
Beat for 1-2 minutes or till the sugar dissolves.
IMG_6097
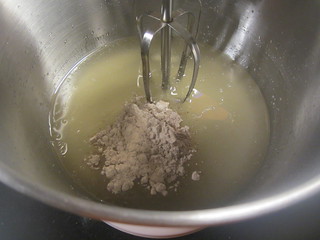
Mix in the sifted dry ingredients,
IMG_6098
one tablespoon at a time till you get a smooth lump-free batter. 
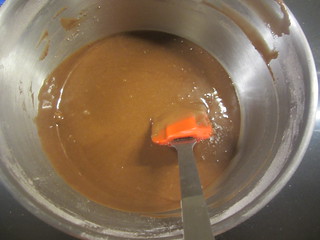
IMG_6101 
Pour the prepared batter into the cake tin and tap well on the counter top to eliminate air bubbles. 
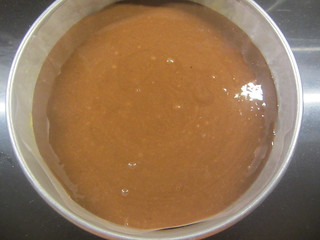
IMG_6103
Bake for 40-45 minutes or till a skewer inserted into the center of the cake comes out clean.
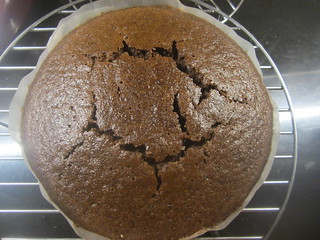
IMG_6108 
Remove the cake from the tin after 5 minutes and finish cooling on a wire rack.Slice horizontally and fill with a filling of your choice,I chose Chocolate ganache.

For the ganache

Dark chocolate - 400 gms
Cream - 200 ml

Melt together the chocolate 
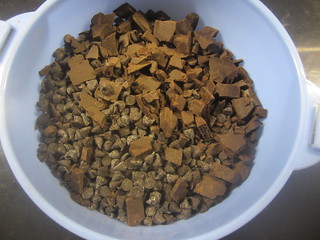
IMG_6109 
and cream in a microwave for 1 minute.
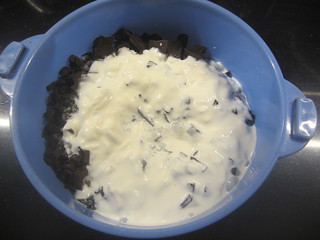
IMG_6110 
Remove and stir well.
IMG_6112 
If chunks remain,microwave again for another minute.
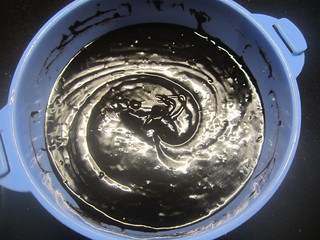
IMG_6113 
You could strain the ganache if you prefer.Keep the ganache in room temperature for 8-10 hours for it to set well to a consistency wherein you could frost and fill the cake.
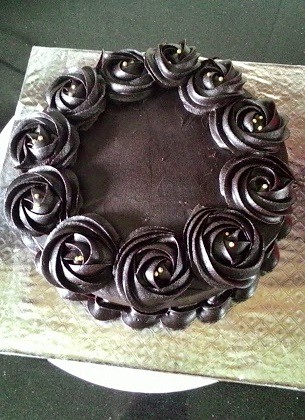
Eggless Devil's Food Cake
This recipe is enough to fill and frost this cake.
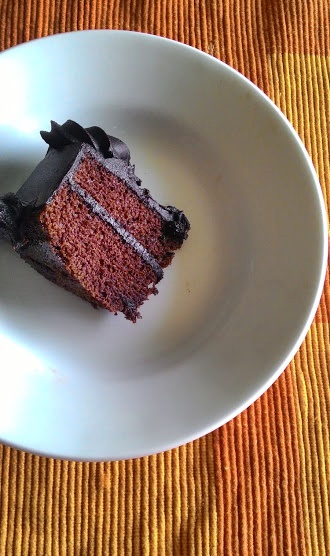
Eggless Devil's Food Cake

*pictures taken with my phone as lack of planning led the battery of my camera to die down and no time to charge before cutting the cake :)

Sunday, November 30, 2014

Happy News :)

A big Hi to all of you :)

This space has been eerily silent for a long long time now.The longest break I ever took!Not without a reason of course,but before that let me thank all of you for keeping this space alive through searches,comments,e-mails and even helping each other out during my absence-I can't thank you enough,really!


Now coming to the 'happy' part of it-Ajay and me have been blessed with a baby boy on October 14th.It has been a long due happiness and we are enjoying every second of it.He is just so precious :)

I am not sure when I can get back to blogging but I can assure you,I WILL be back and hopefully soon.Thanks a bunch again,from the bottom of my heart!

Happy Holidays :)

Love,
Divya.

Wednesday, July 16, 2014

Onion,Bell pepper & Paneer Schiacciata

When I started baking cakes a few years back,one thing which I couldn't help myself from doing was peeping into the oven every now and then.To see if the cake was rising well,browning well or sometimes overflowing from the pan(yes,it has happened to me!)But as time passed,I stopped doing that,checking only once or twice to see if the oven was indeed switched on or the heat is right.
Onion,Bell Pepper & Paneer Schiacciata
Same thing with bread baking.Though I have to say,it still amazes me to see the bread dough rising in room temperature first and then in the oven.Somehow makes me feel content thinking I have finally started baking 'edible' breads consistently,lol.Bread baking is indeed therapeutic and addictive.More so when the recipes are simple,no complicated steps to follow and foolproof.

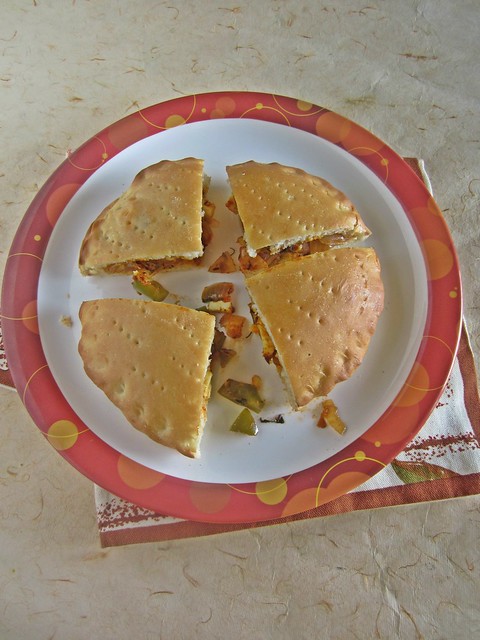
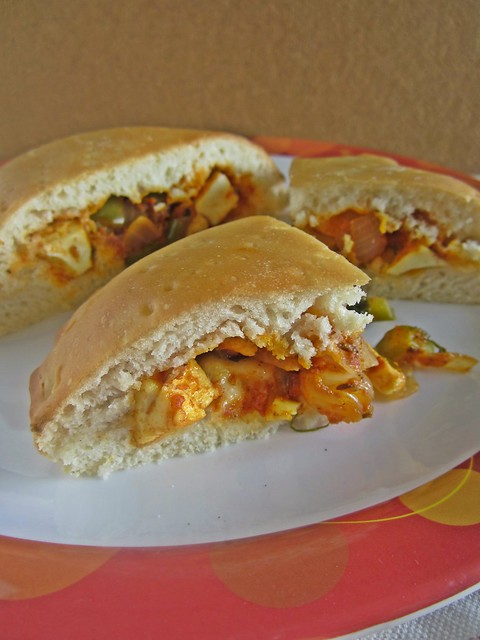
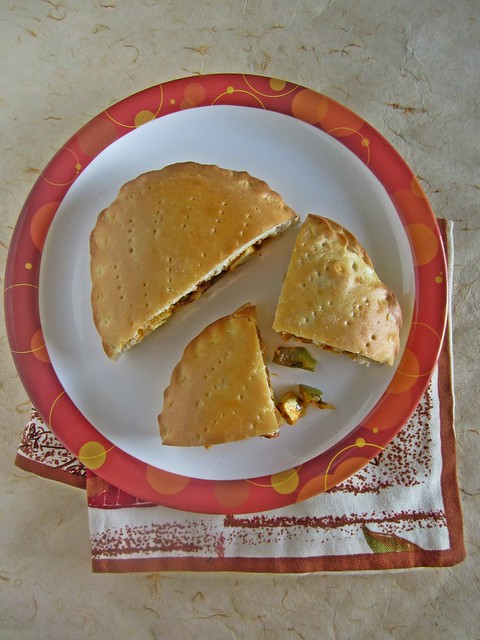
Schiacciata[pronounced Skiah-cha-tah]is an Italian flatbread containing four basic ingredients - Flour,Yeast,Water and Olive oil.It means crushed or flattened in Italian and is the name for flatbread in Tuscany.The filling can be of your choice-sweet or savory,or none at all.I chose a basic filling with onions,tomatoes,bell pepper and paneer[cottage cheese].I added spices as I fancied throughout the cooking process and the filling turned out to be slightly Kadai Paneer-ish.A good mix of Italian and Indian cuisines I must say ;)
Onion,Bell Pepper & Paneer Schiacciata
Recipe source - Citron & Vanille ; Baked as part of Fondbites,Bakealong

Ingredients

Instant dry yeast/ Active dry yeast – 2 teaspoons
Water – 100 ml to 150 ml, adjust
Sugar – 1 tablespoon
Salt – 1/2 teaspoon
All-purpose flour – 250 gms, extra for dusting
Olive oil – 30 ml, extra for basting
Milk – 3 tablespoons, for brushing

For the filling

Oil - 1 tbsp.
Jeera/Cumin - 1/4 tsp
Onion - 1,sliced into chunks
Ginger garlic paste - 1/4 tsp
Tomato - 1,pureed
Red chilly powder - 1/2 tsp
Coriander powder - 1/2 tsp
Haldi/turmeric powder - 1/4 tsp
Garam masala - 1/3 tsp
Bell pepper/Green Capsicum - 1/2 cup,chopped into chunks
Paneer/Cottage cheese - 100gms
Kasoori Methi - 1/2 tsp
Salt to taste

Method

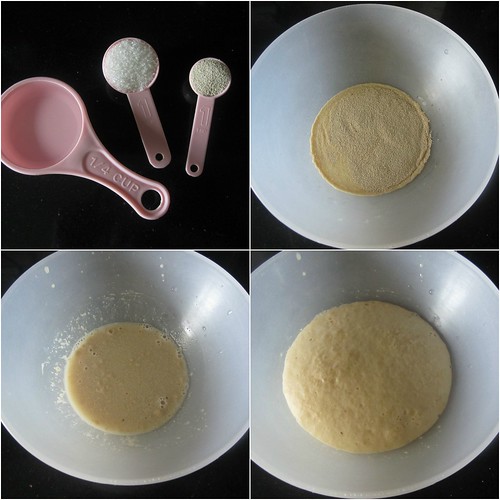
Take 1/4 cup of water and heat it up to lukewarm. Lukewarm in simple terms to work in home is to put one of your finger into the warm water and count till 5. If the 5th count is the final moment of bearing that heat, then you are good to go. Hotter than that will kill your yeast, colder than that will not kick start your yeast to react.
Onion,Bell Pepper & Paneer Schiacciata
To the luke warm water, add sugar and yeast and mix it well. Set it aside and do not disturb for 5 to 10 minutes until it will start to bubble up and become frothy. Those using instant yeast could skip this step and add the yeast to the flour along with sugar, salt and oil and start adding lukewarm water and begin making  your dough.I use instant yeast but still follow this step just to check if the yeast is active.
Onion,Bell Pepper & Paneer Schiacciata
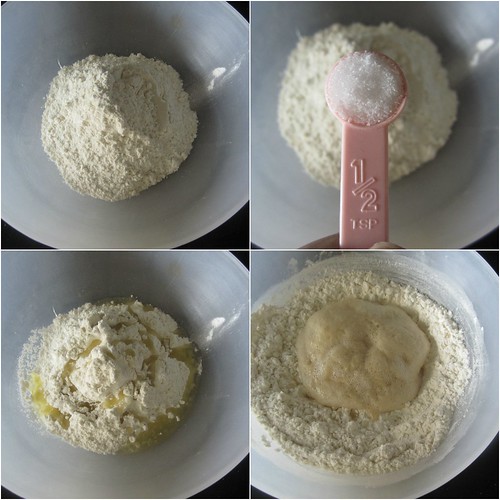
In a large bowl add flour and salt and mix well. Add oil and use your fingertips to combine oil and flour mixture. Make a well in the center and pour the yeast mixture into the well. Add remaining water from the measurement little by little until the dough becomes soft and sticky. Not too wet and not dry and hard. It is hard to tell  the exact water measurement,  because moisture that is needed differs due to various causes. The key here is to add between 100 ml to 150 ml in total and get a sticky soft dough.
Onion,Bell Pepper & Paneer Schiacciata
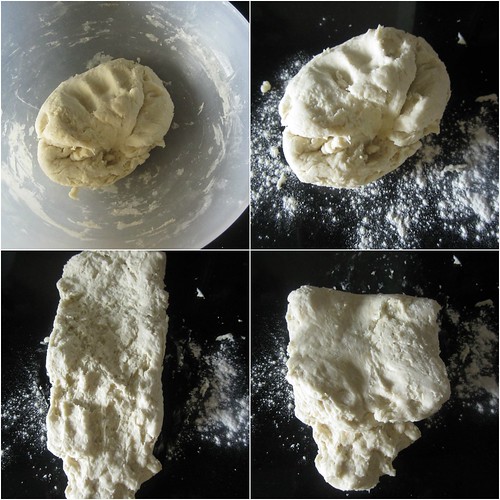
Transfer the dough onto your counter top that is cleaned well.Ideally for gluten to form at this stage, the dough gets a stretch and fold kneading. So stretch the dough extending your hands to maximum possible extent, then fold the dough and bring it back, repeat. If its sticky, sprinkle very little flour and do the stretch and knead process. If it is not soft, sprinkle some water and repeat kneading. It is this stretch and knead that makes the dough smooth and silky and helps in gluten formation.  So stretch and fold, stretch and fold for 10 minutes.
If your dough wont become shiny in 10 minutes knead for a little longer. Idea is to get a shiny smooth surfaced dough.
Onion,Bell Pepper & Paneer Schiacciata
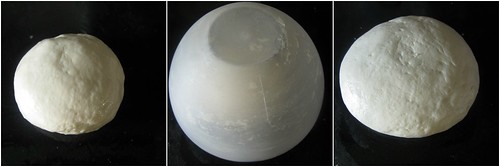
Once the dough kneading is done, use a bowl to cover the dough and let it for proving for about 30 to 45 minutes until the dough becomes double in volume.

Meanwhile,make the filling
You can either keep the filling plain-layering onion,tomato and herbs directly on the flattened dough or use a cooked filling to sandwich the schiacciata.
Onion,Bell Pepper & Paneer Schiacciata
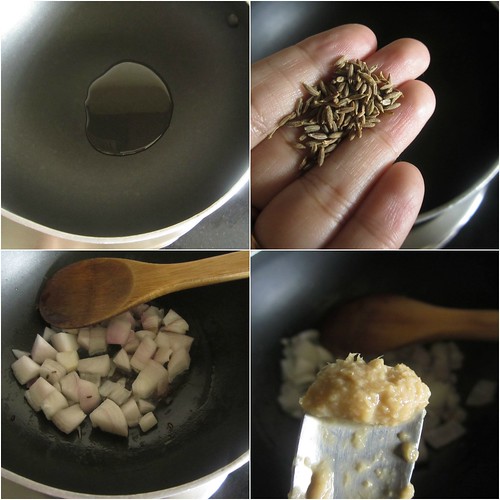
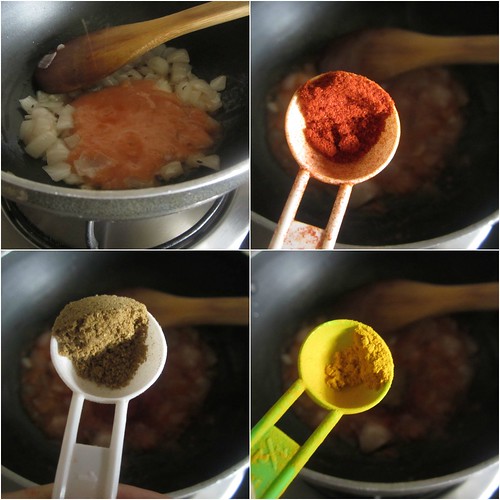
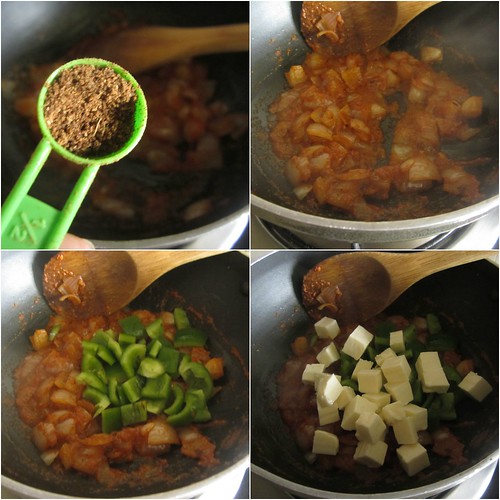
In a pan add oil and splutter jeera.Saute the onions for 2-3 minutes till it starts slightly changing colour.Add the ginger garlic paste and tomato puree and cook for another 2-3 minutes on low flame.
Onion,Bell Pepper & Paneer Schiacciata
Add red chilly powder,coriander powder,haldi powder and garam masala.Cook for 1-2 minutes on a low flame taking care not to burn the spices.
Onion,Bell Pepper & Paneer Schiacciata
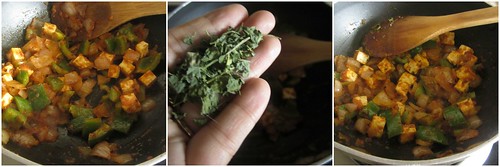
Now mix in salt to taste,chopped bell pepper and paneer and give a good mix.
Onion,Bell Pepper & Paneer Schiacciata
Add kasoori methi,mix well and switch off the flame.Let it cool completely.

Onion,Bell Pepper & Paneer Schiacciata
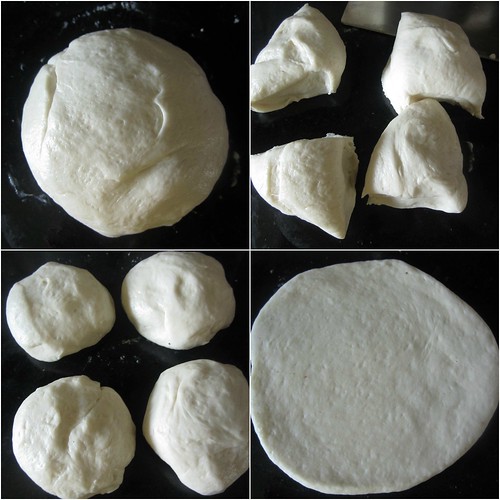
Knock or punch it down is the term used. Yes, use your fist to punch the dough, here we are releasing the air that's collected in the proved dough. Knock down throughout and combine the dough, give it slight kneading and now you are ready to go.
I decided to make 2 medium sized schiacciatas, so I divided the dough into 4 pieces. You can also make one big and you can divide into 2. Slightly flour your counter, take one portion of dough, roughly flatten it and roll it with your rolling pin to round shape about quarter of an inch thickness.
Onion,Bell Pepper & Paneer Schiacciata
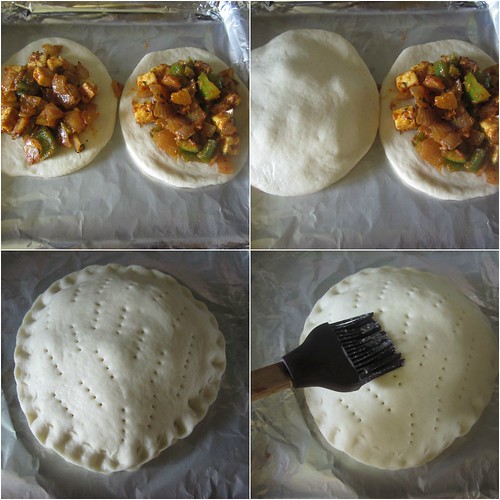
Transfer the rolled dough to your baking tray that has been lined with parchment paper or silicon mat. Spread over the prepared filling.
Now take another portion of the dough and again flour your counter and roll it to round of a size little bigger than your first. Brush the sides of the first dough with milk and place the second rolled dough over the first. Seal the sides with your fingers first and use a fork to mark lines and seal it completely. Now use the fork to poke holes on top. This is done to let vapour release out during baking, so your sides wont split open. Let this prove again for 10 to 15 minutes to just increase a little in size. This stage is second proving and this is when 90% of the size of your yeasted dish will take up. Baking only cooks them, most of the rising bit happens outside of oven.
Now brush the top with milk using a pastry brush,or dab ever so slightly with your fingers.
Bake in pre-heated oven at 200 degrees, for 17 to 20 minutes until the top turns golden brown.
Once the schiacciata is out of the oven, immediately brush oil all over. Now you can be a little less gentle. This is called basting of oil and that helps keep it soft once cooled down. Once basting is done and you are able to bear the heat, remove from the baking tray to a cooling rack else the bottom will soak up moisture. You are ready to slice and eat while its warm.
Onion,Bell Pepper & Paneer Schiacciata
You can store in refrigerator for a day or 2 and could re heat it before serving.
Related Posts Plugin for WordPress, Blogger...
 
Pin It button on image hover