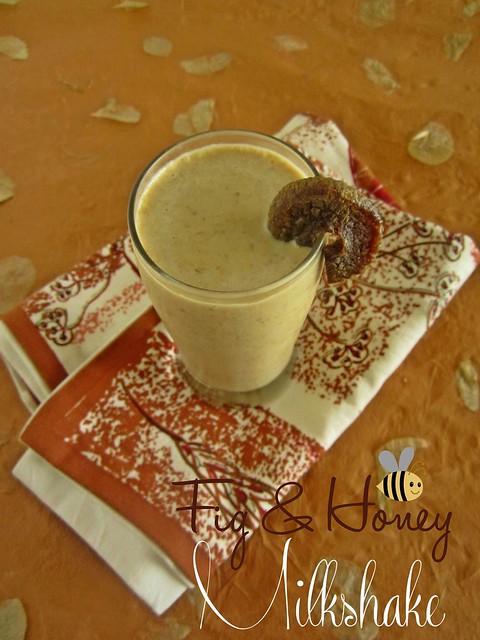
In March,while we were in Udupi attending a cousins wedding,I was startled to find a Fig Milkshake as a welcome drink.I hadn't given much thought to this humble dry fruit but was willing to give it a chance after all.The milkshake was crunchy and sweet and very refreshing on a hot summer day.I could taste the figs as well as a faint ice-cream taste.
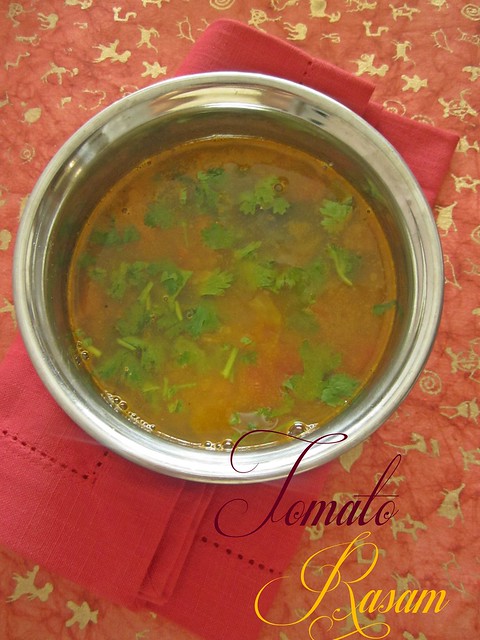
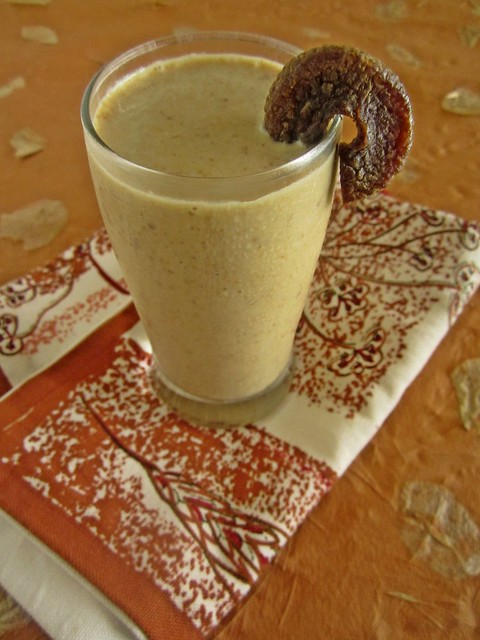
Anjeer Milkshake - Fig & Honey Milkshake
Ingredients (serves 2)
Dried Figs - 5
Honey - 1 tbsp
Butterscotch ice-cream - 80 ml cup (approximately 2 tbsp)
Milk - 1 1/2 cups ( I used 3/4 cup milk ice cubes and 3/4 cup chilled milk)
Method
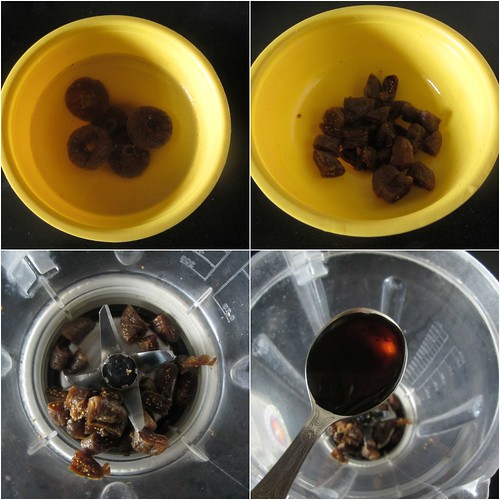
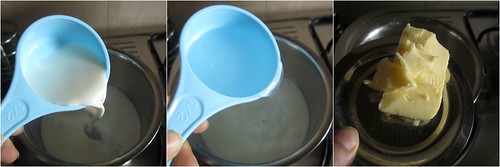
Soak the figs in warm water for 10-15 minutes.This step is important or else the figs wouldn't grind well.
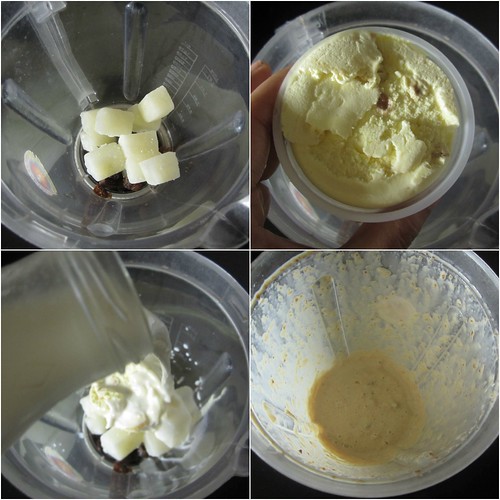
In a blender add chopped figs(chopped after soaking),honey,ice cream,milk ice cubes and milk.Blend for 10-15 seconds.
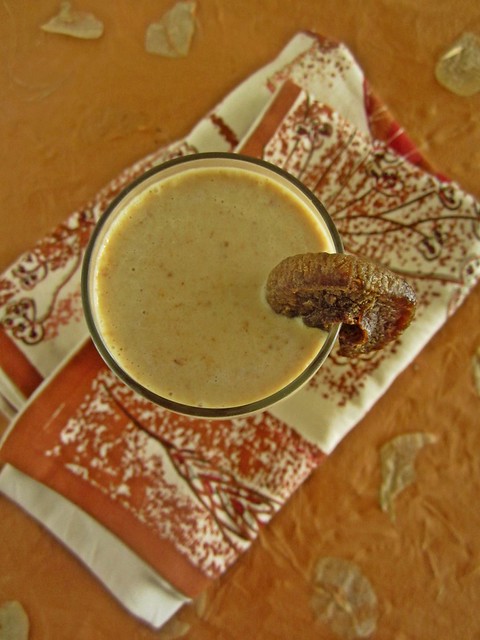
Serve chilled.
 Notes
Notes
- I haven't added any sugar in the milkshake because figs,honey and ice-cream provide the sweetness.However,if you feel it is not sweet as per your liking,add 1-2 tsp of sugar while blending.
- Soaking the figs in warm water is a must.It wouldn't blend in the milkshake otherwise(speaking from experience!).
- You can add any kind of nuts too for an added crunch.I added Butterscotch ice-cream coz that's all I had.Feel free to add Vanilla too.